I assembled the projector using recycled materials. For the motor (12V, round type), I used a lamp holder. The motor didn’t fit in perfectly, so I added some paper. Not sure if this is bad for ventilation, but the motor doesn’t get noticeably hot. I screwed the holder onto a block of plywood I found. Since I wasn’t sure if this would be the final circuit, I left everything on breadboard. I used two: one for the photo sensor related things, and another for the all the rest (motor control, pot and laser). I taped the boards and the wire on the wooden block, and screwed the Arduino to it as well. This made it easy to cary everything around. 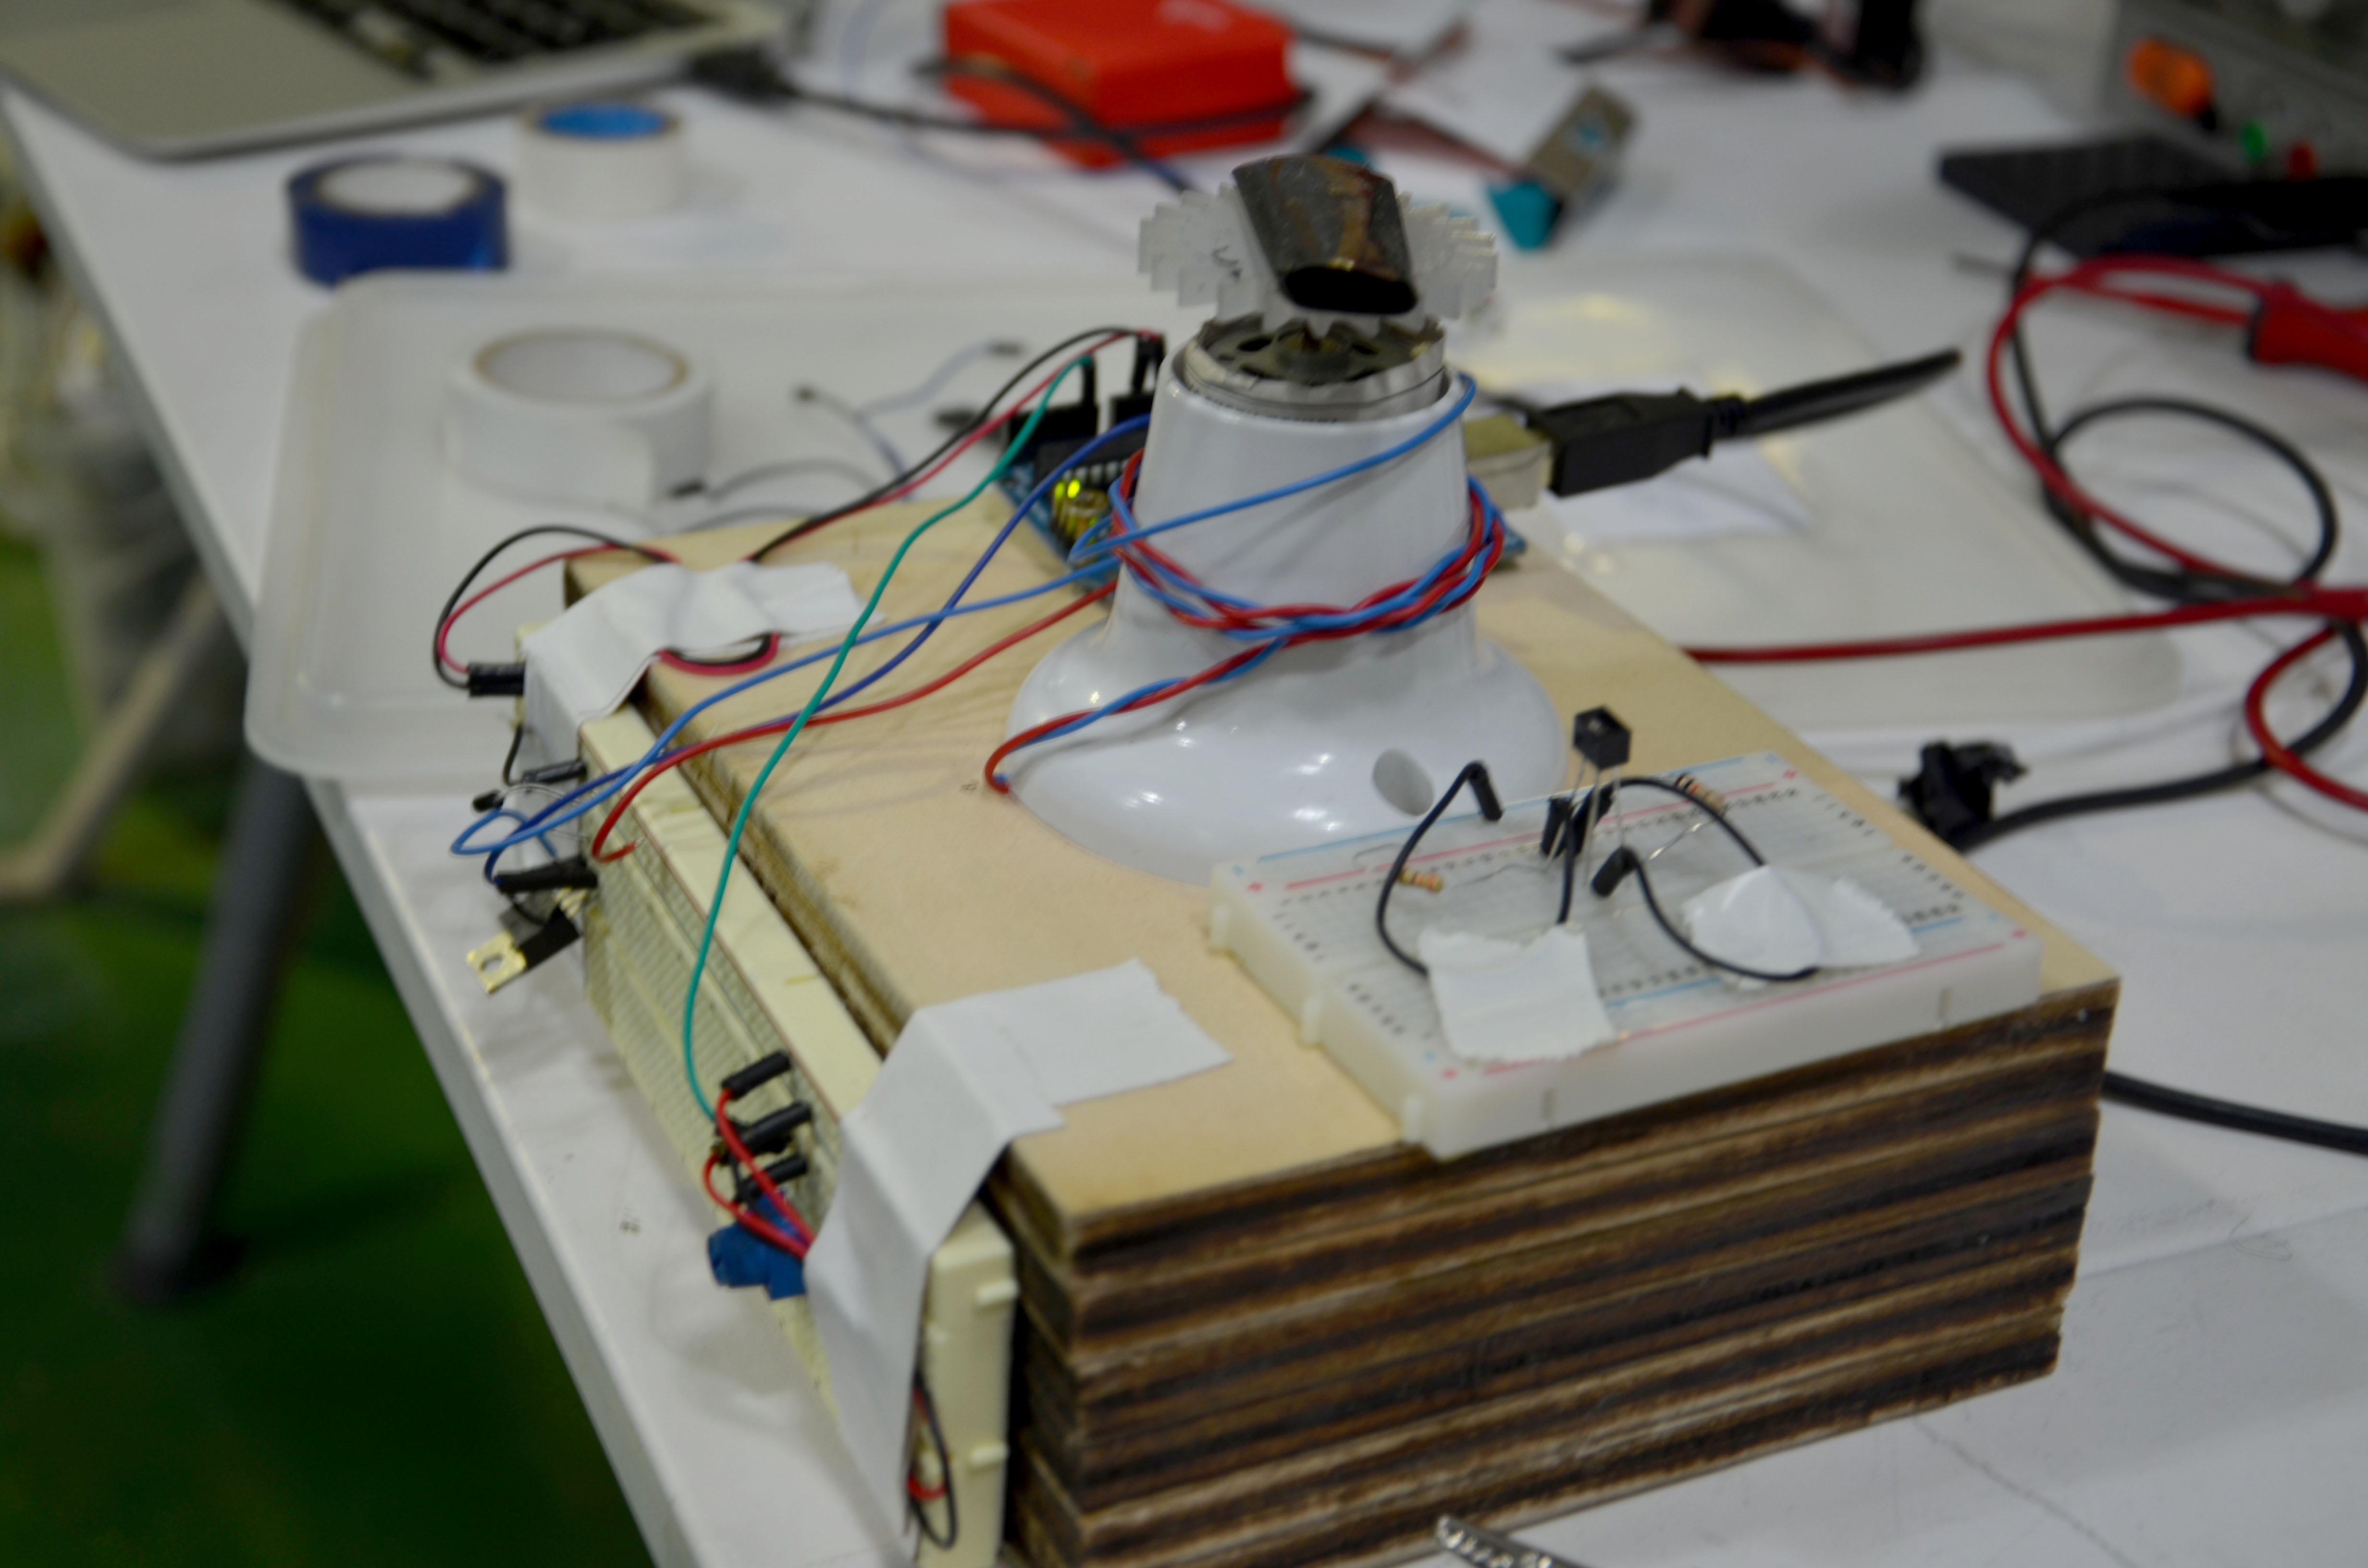 The motor I used already had a gear connected to it. I glued a slim piece of leftover acrylic onto it. Next, I glued a wooden hexagonal prism on it. For the mirrors, I used a cheap handheld mirror. I tried different ways of cutting this, but none of them working without breaking the mirror. In most similar projects people just snapped the mirrors into pieces. I also found a project where the mirrors from a disco ball were used. Someone also suggested using mirrored plexiglass and lasercutting that. I connected the laser and pointed it on the mirrors. I added some tape on the wall, added the first mirror and made a mark on the tape to indicate the position of the laser. This had to be repeated from each mirror, giving each of them a slightly different inclination, with the marks on the wall as a reference. I glue to keep the mirrors in place. Here is how that looks like:
 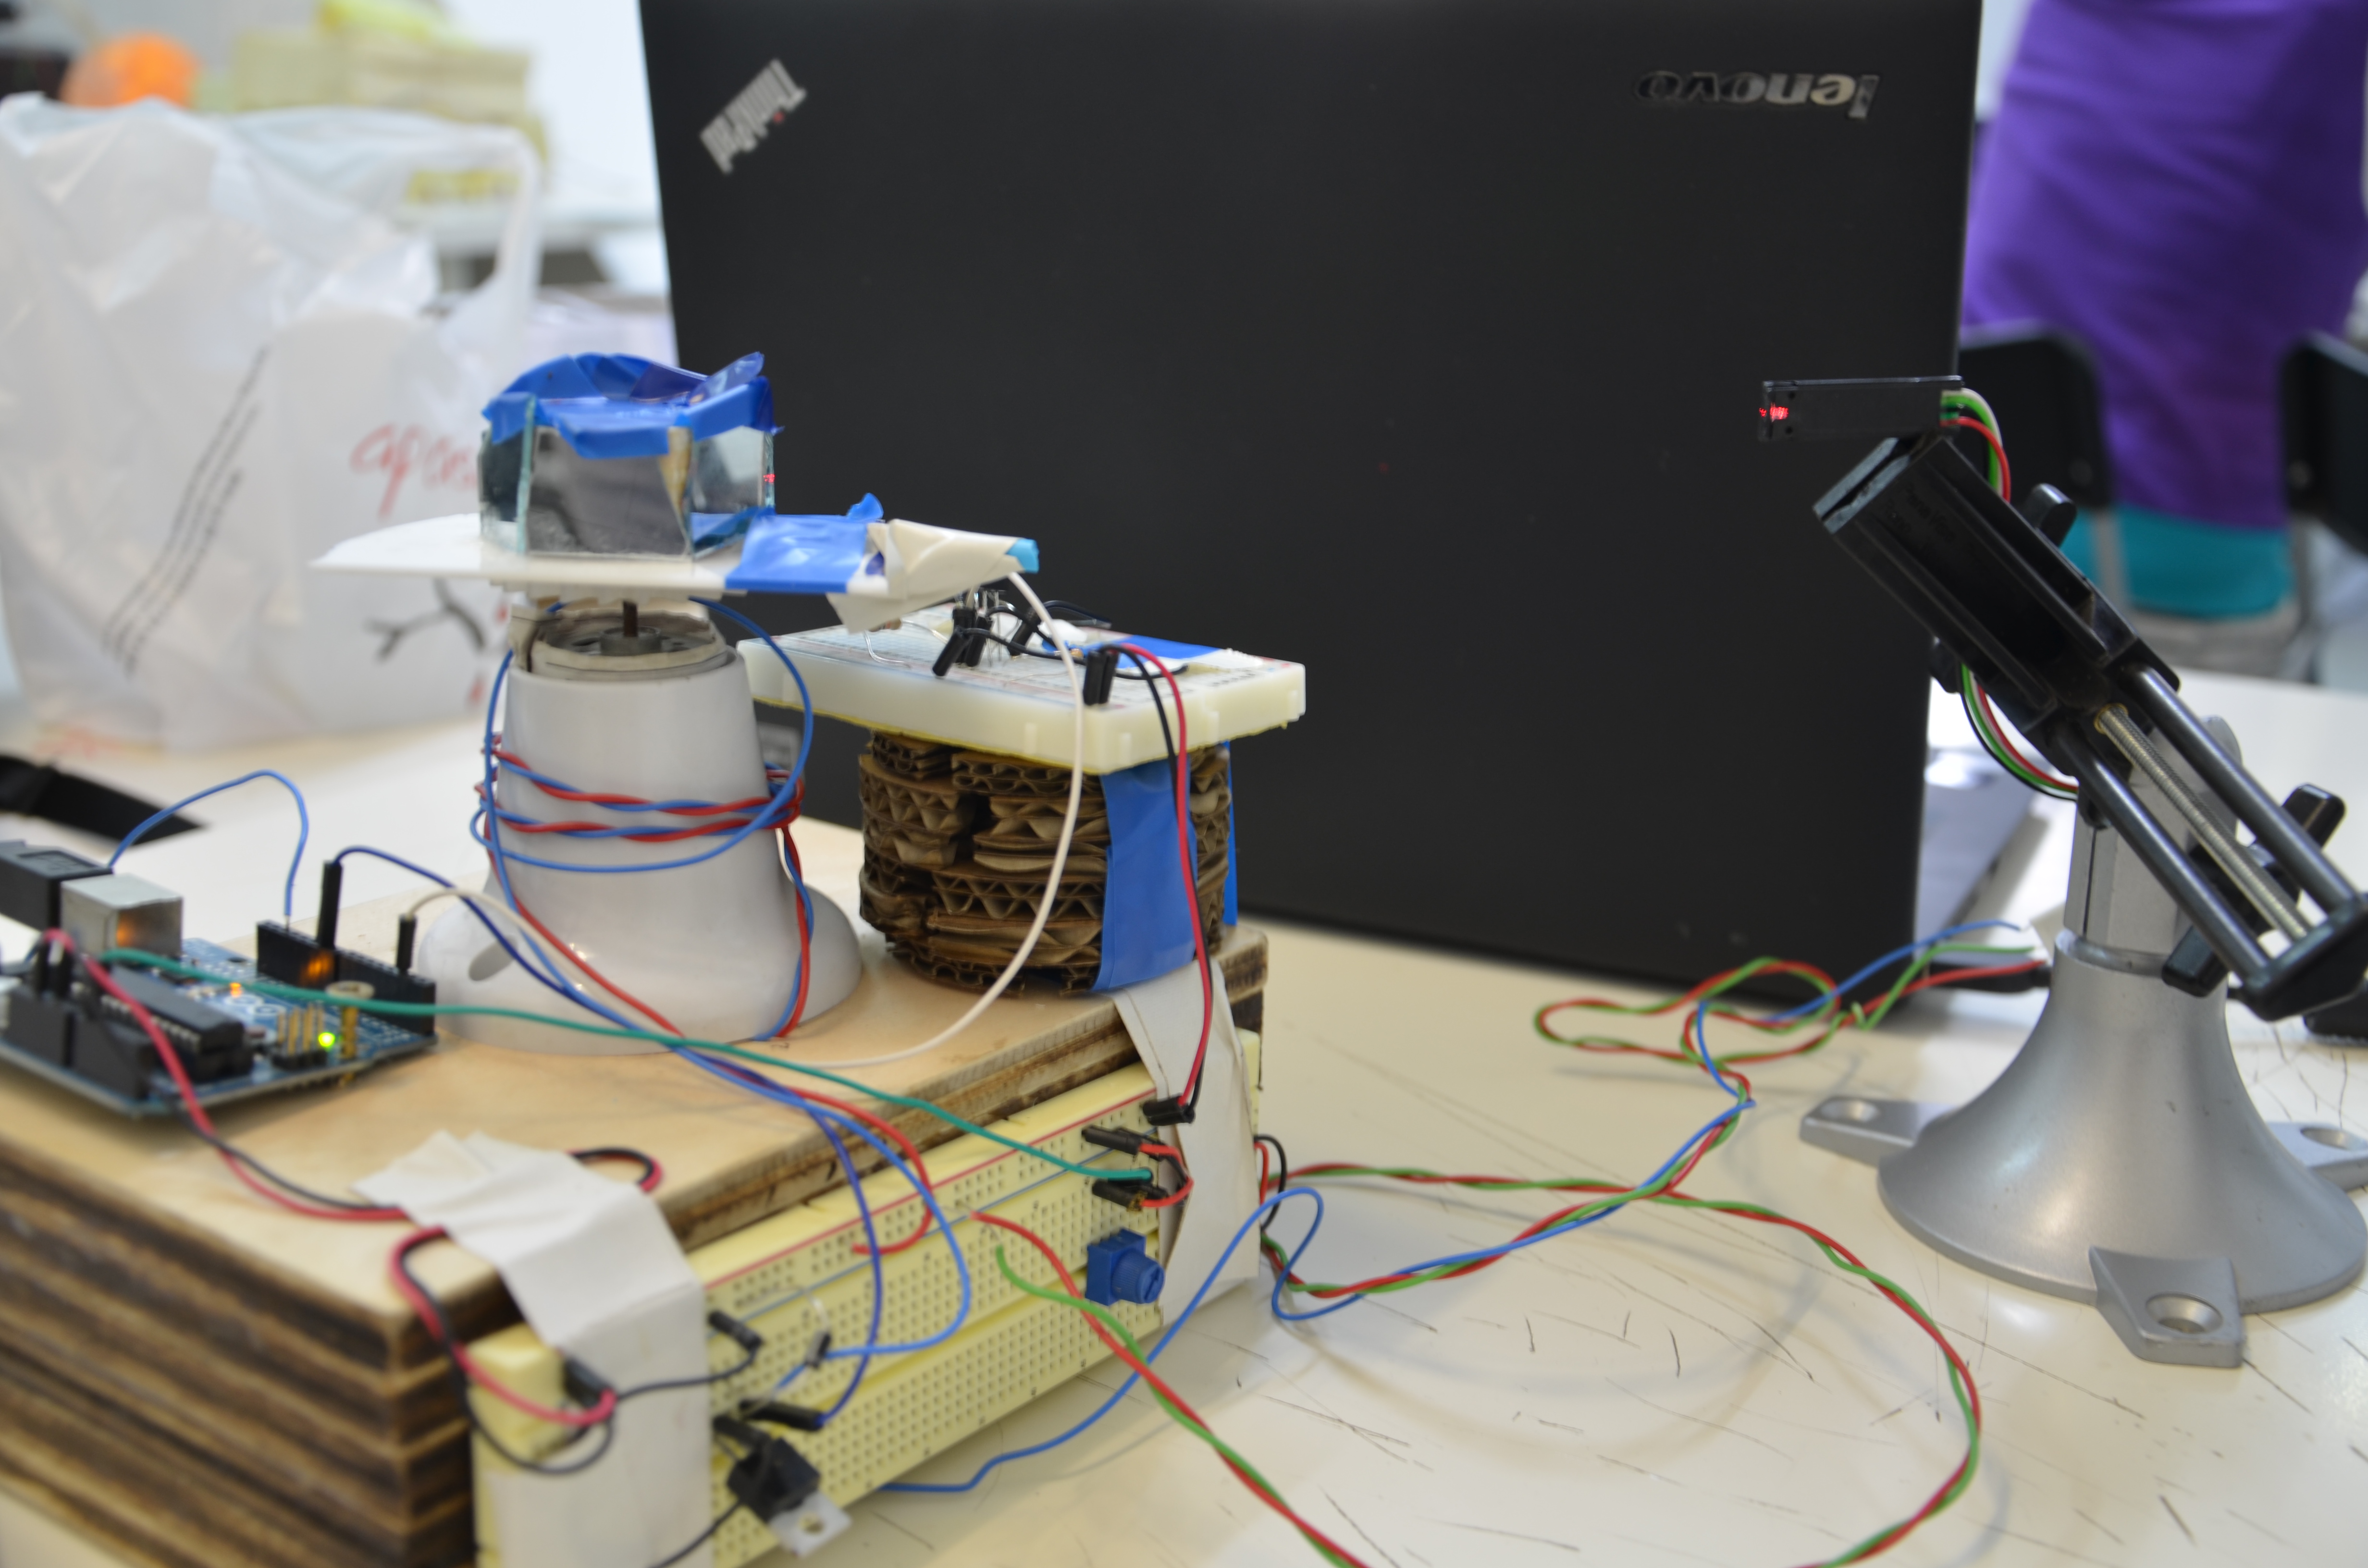 This took a long while, and because I didn’t wait long enough for the glue to dry, the mirrors shifted out of place a bit. The result is that some lines are too close together:
 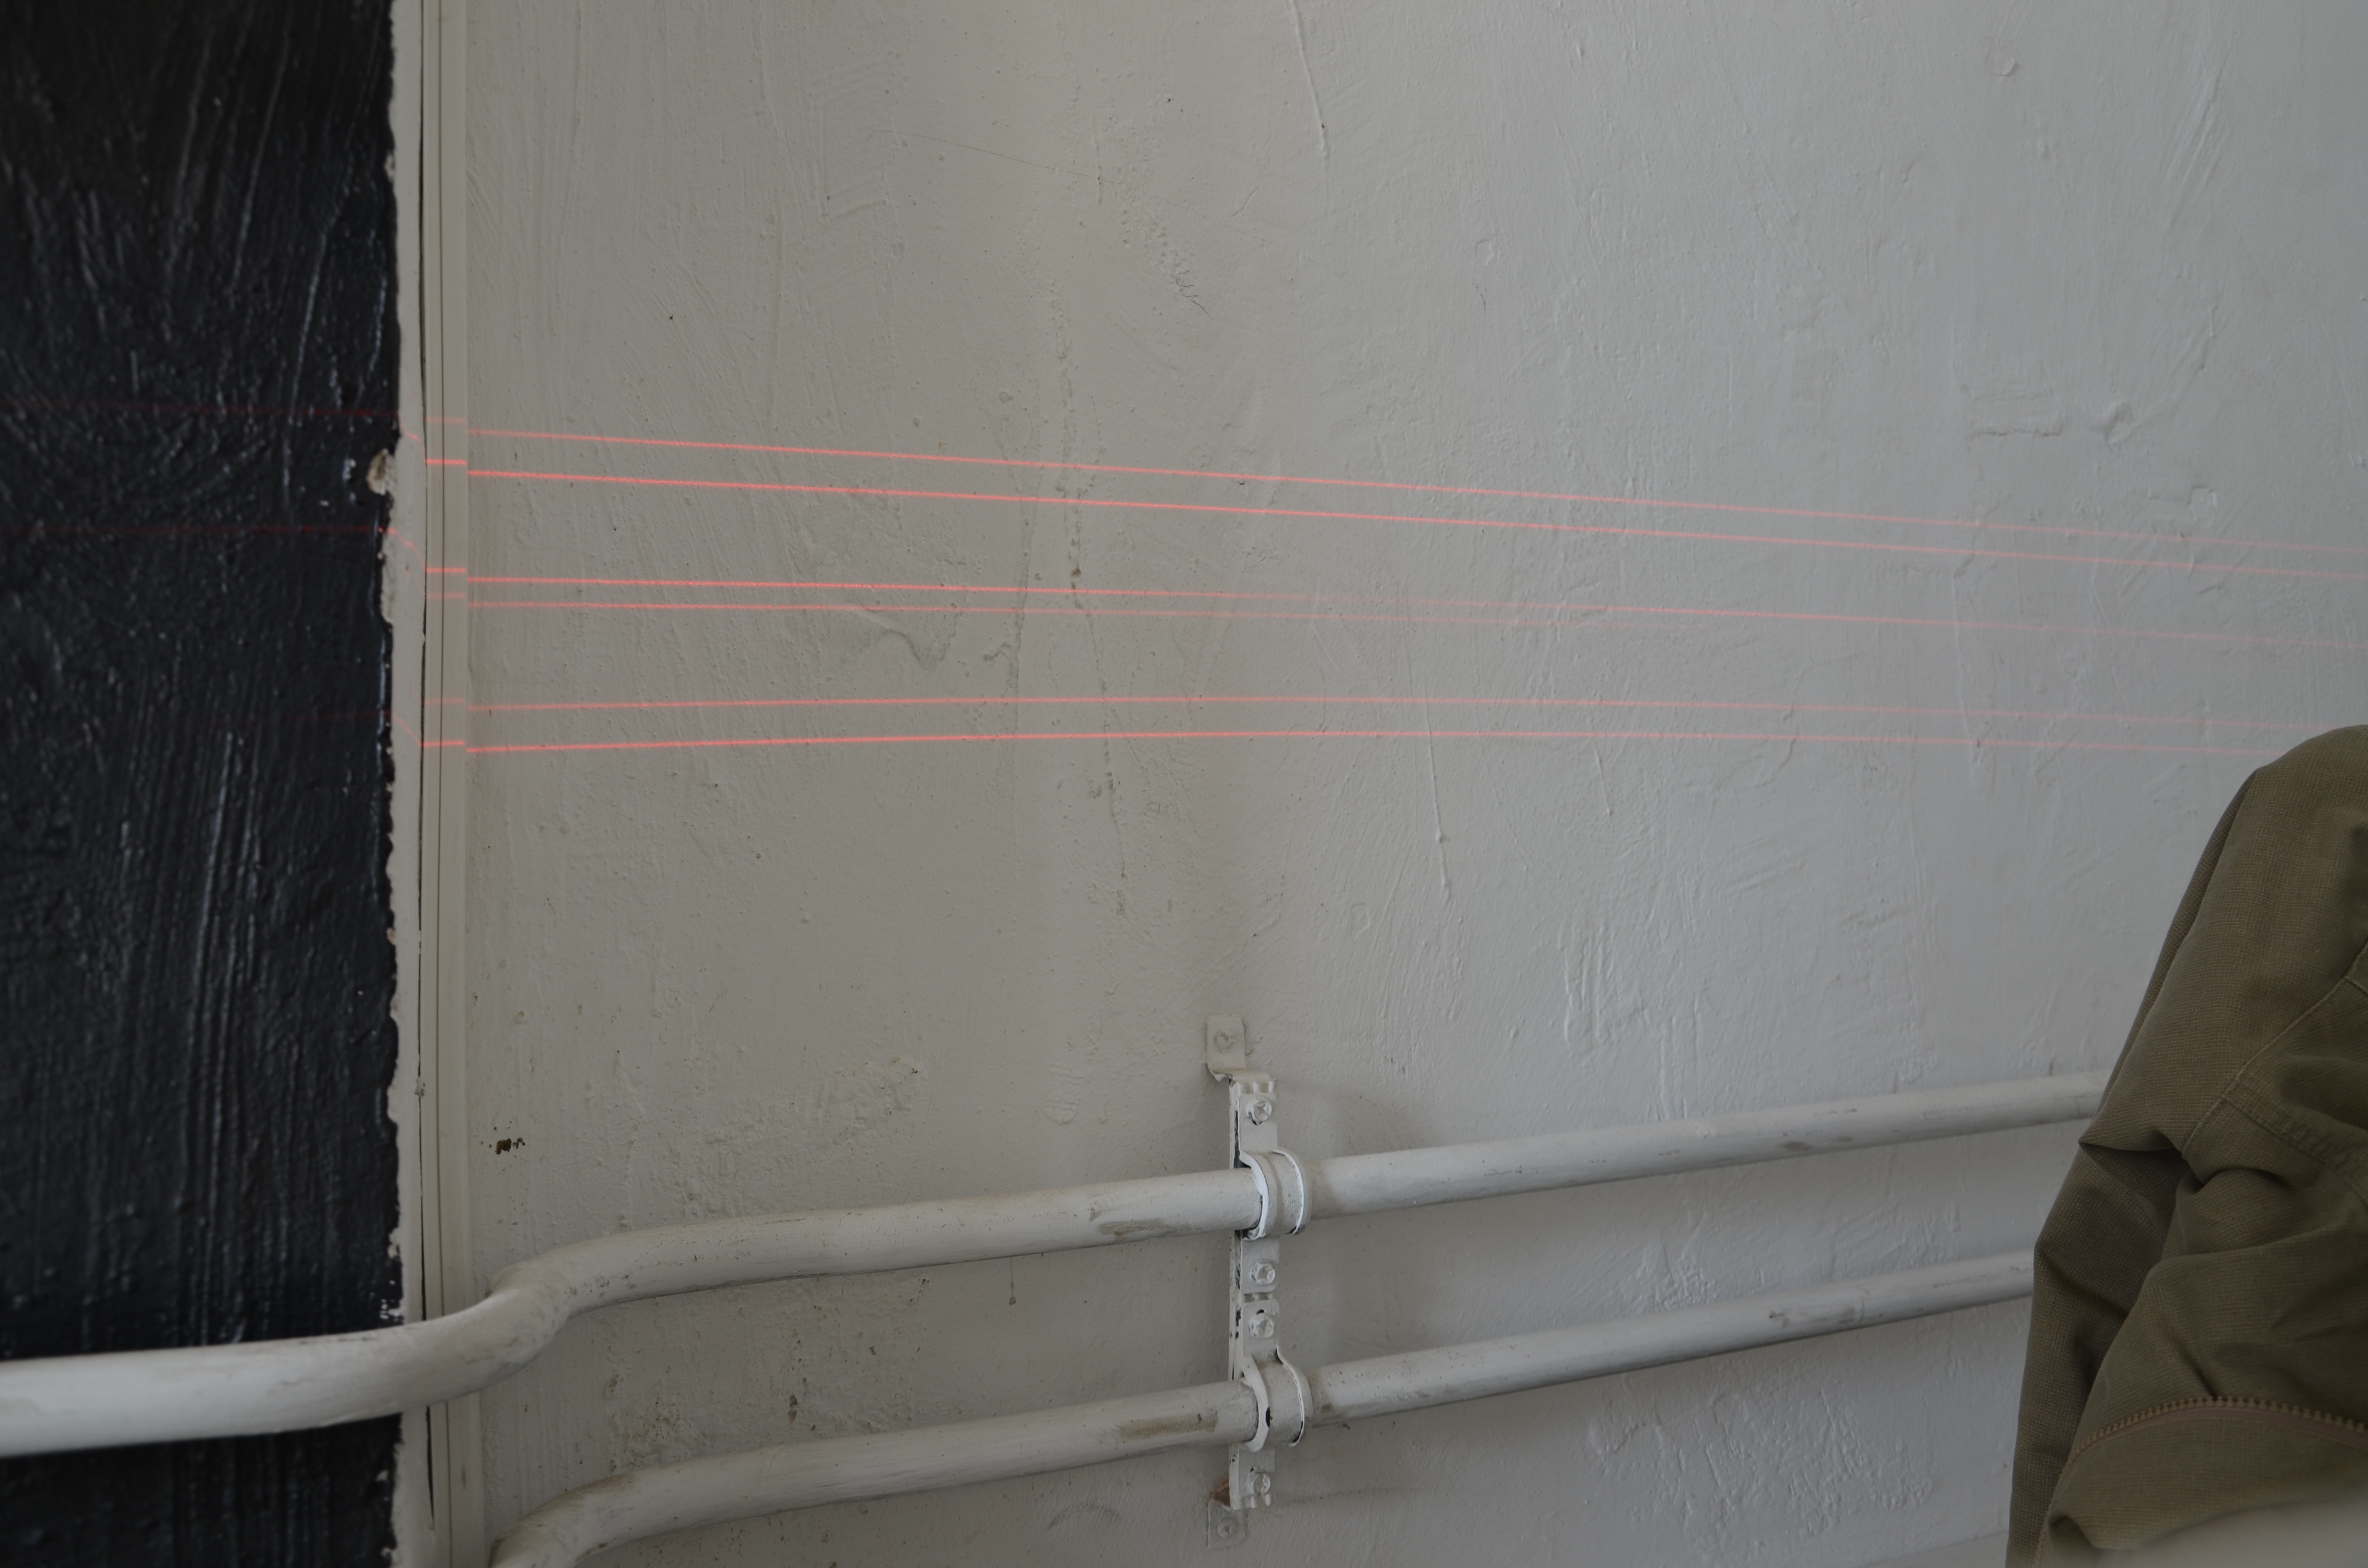 Later on I found a really nice description on how to make such a mirror array. Hot glue seems to be very useful here, since you can heat it up again and correct the alignment of a mirror. I added a small plastic stick on the platform with the mirrors. The photosensor was mounted under it and sends back lower values when the stick is on top of it. I was a little disappointed with the brightness. It needs to be pretty dark for the lines to be visible.