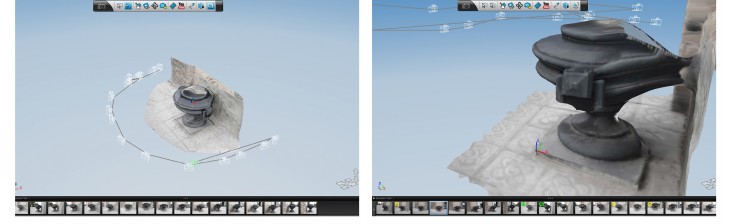
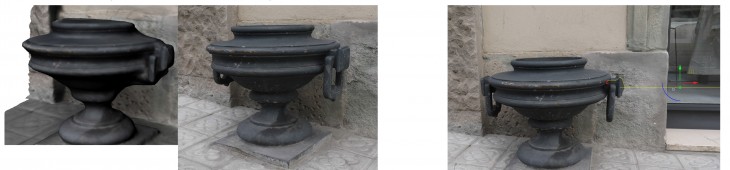
Photographing
Before choosing and photographing my object i read the 123D Catch tutorial on how
to photograph objects, making sure the lighting of the photos was right, that the scene
contained no transparent or glossy objects and that the photographs were taken at
appropriate intervals. Further, I recorded the object with a total of 25 photos, which I
uploaded to 123D catch to make a scene.
Raw model
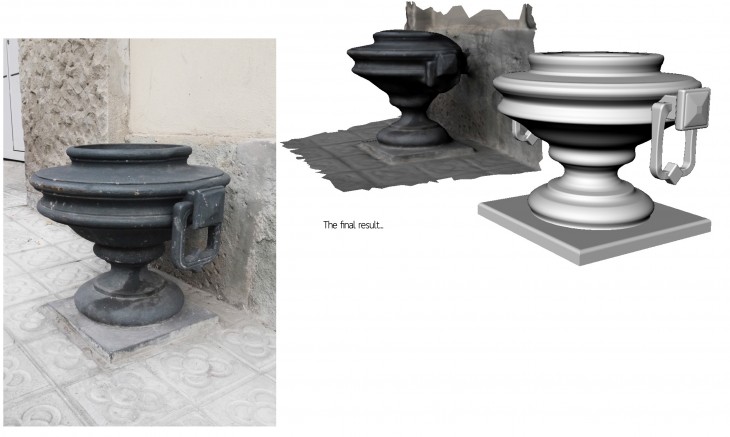
Overall, is was relatively satisfied with how the model came out, though some parts
closer to the wall were pretty unclear. I tried to do some manual stitching and re
submitted. The result became a bit better, but the parts close to the wall were still not
very well modeled. However, I figured that this was the best I could do with the photos
I had and since the object is relatively symmetrical this was something i could later fix in
Rhino.
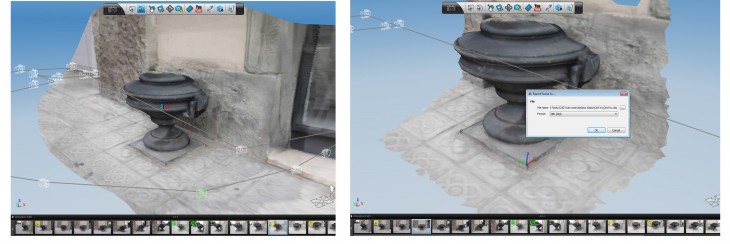
Manual stitching
I found that the fact that my object is circular and did not have a lot of “sharp”
corners made the manual stitching by reference points pretty challenging.
However, I was pretty satisfied with the result of the scan and decided not to do
any more stitching.
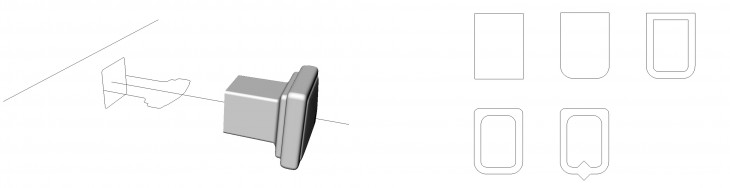
Reference points + Axes
Before exporting to an .obj file I set up some reference points and set up my coordinate
system to the plinth of the object.
Rhino import + Scaling
Once I had opened my object in Rhino I scaled it up to the right scale and
moved it into a locked layer. Seeing that the main features of my object are
circular and symmetric I decided to try the revolve command.
Tracing silhouette
I started by tracing the silhouette of the object using th interpolated curve tool.
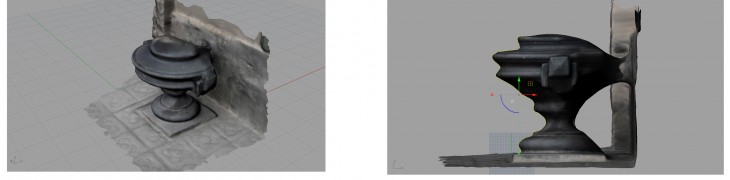
Center axis
I set up the approximate center of the object and made a line along the z axis,
working as a revolve axis.
Revolve
By doing a simple Revolve operation of the traced silhouette and the center axis I
could generate the main shape of the object.
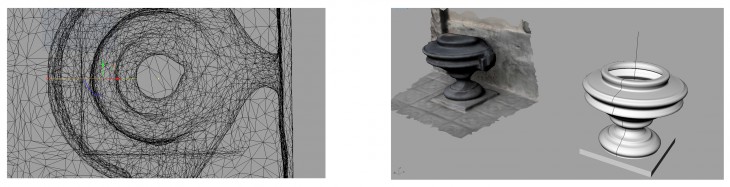
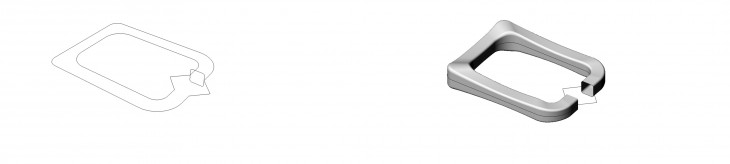
Scanned object inaccurancies
The “handles” on the side of the object did not come out very accurate in the stitched model,
supposedly because of their intricate and smaller scaled nature. For that reason I decided to use a real picture as a reference,
modelling the handles “freehand”. After resolving the rails of the “knob” of the handles I used the Sweep 2 command to
create the surface. I used the same apporach for the handles themselves.
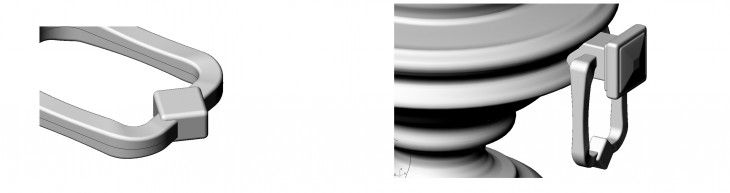
Sweep 2
Using the Sweep 2 command for the handles.
Box + FilletEdge
The box piece in the middle of the handle was modeled using the
Box and FilletEdge commands
Attach to main body
The box piece in the middle of the handle was modeled using the Box
and FilletEdge commands.
Conclusions and Issues
Though I was positively surprised by the outcome of the raw scan object I learnt that it is
preferable to have the possibility to do a 260 degree trajectory when photographing the object. This was very clear in my example where the object is located very to close to the wall, thus
eliminating those angles of photography. I also noticed that the lighting and quality of the images play a crucial role on the outcome of the scan model. Overall, i faced only minor challenges in the process, mostly due to the fact that my object was based on a section revolved around a central axis and is symmetrical.
Next time I shall surely try to choose a slightly more challenging object to model!
Digitizing: Capturing the world is a project of IaaC, Institute for Advanced Architecture of Catalonia
developed at Master in Advanced Architecture in 2015/2016 by:
Students: Peter Geelmuyden Magnus
Faculty: Luis Fraguada, Rodrigo Aguirre