Digitizing an object found in the real world can be done in many ways. Increasingly, we are moving away from attempting to model real
world objects based on measuring, describing, and drawing and rather are looking for ways to digitize the object
directly. This can be done in a multitude of ways, including laser scanning, time of flight scanning, and photogrammetry.
For this exercise, photogrammetry was used to digitise any object of our choice found near metro stations and use this to model the same in Rhino.
Photogrammetry is the science of making measurements from photographs, especially for recovering the exact positions of
surface points. For this process, 123D catch was used to stitch a series of images into a mesh.
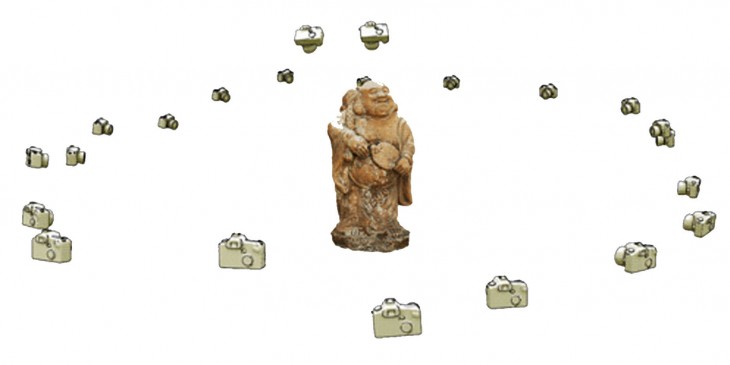
Shoot a loop of about 50 sequential photographs in small increments around the object. Shoot another sequence from a different angle if possible. For best results, use a reference object in the photographs.
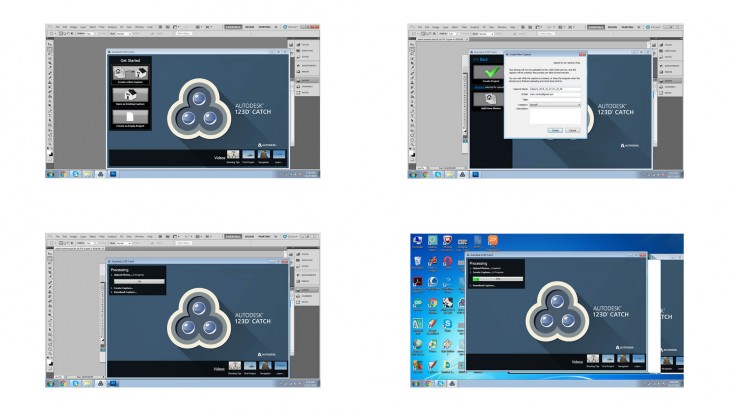
Upload all the pictures in the 123D catch software. The image will be saved in the cloud. Download the file as a mesh.
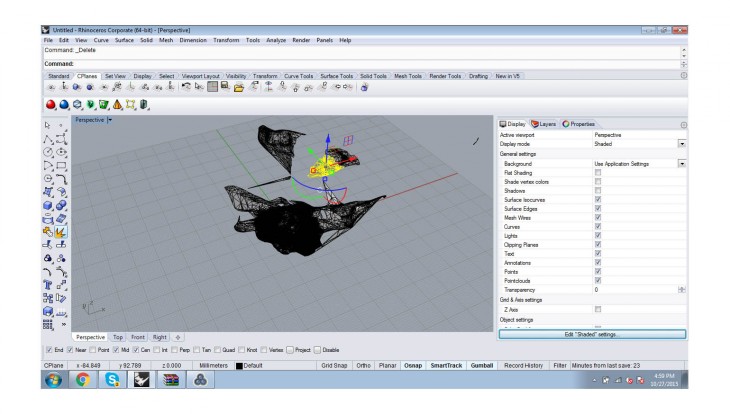
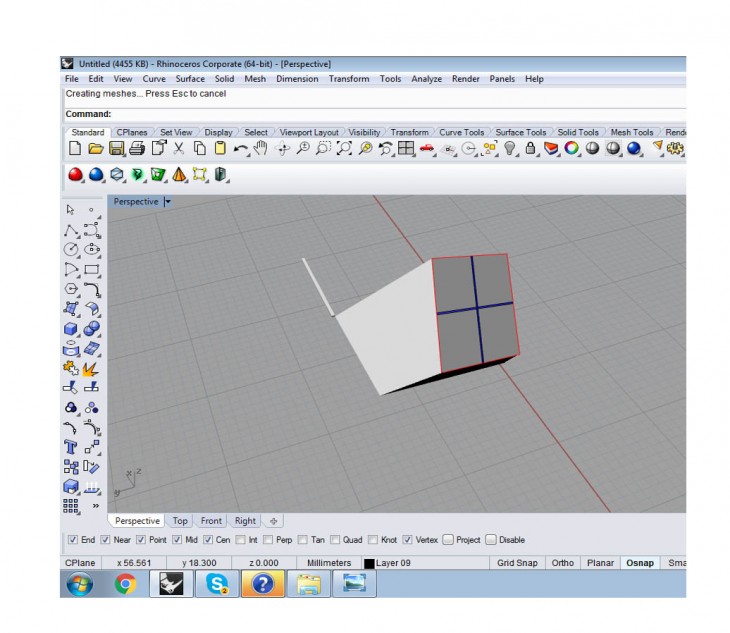
Import the .obj file into Rhino. The mesh surface can be exploded and the unwanted lines and surfaces can be deleted to create a clean model of the object.
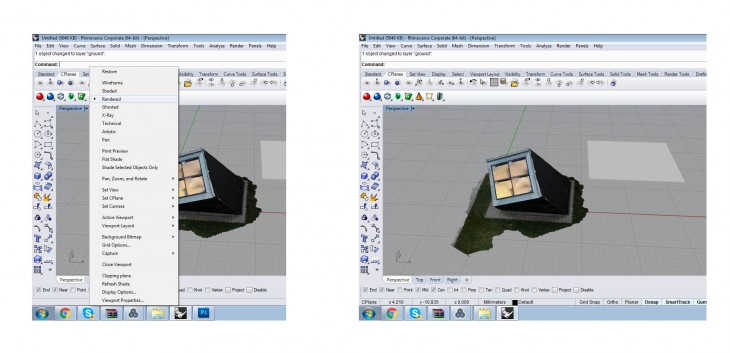
In the perspective tab, select the “Rendered” option to see a 3D model of the object in Rhino.
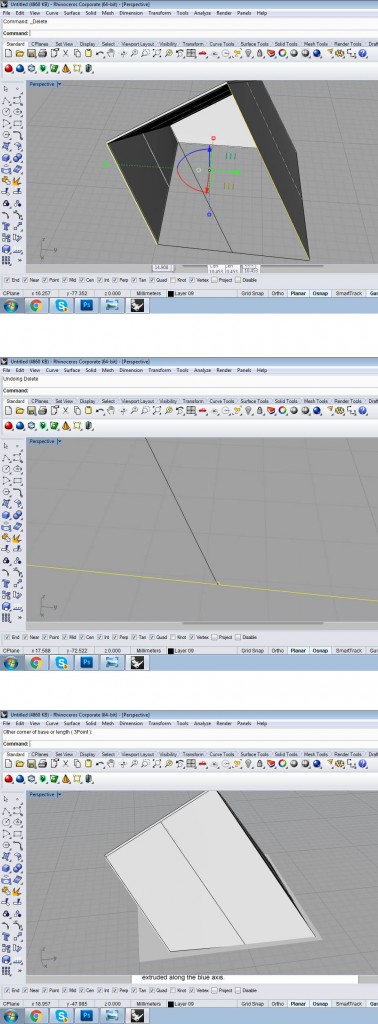
Using this as the reference, a new model can be built. First step would be to create the surface on which the object is resting using the _Plane command.
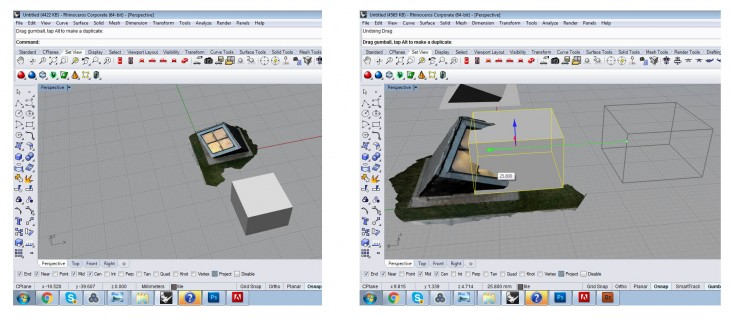
Create a box using the _Box command and move it on to the reference 3D object.
Use the _Pointon command to obtain points on the box. Select the points with respect to the surface drag the points until you obtain appropriate inclination of all the surfaces with respect to the reference image. Dragging the point using the Gumball ensures the points are moved along the axis.
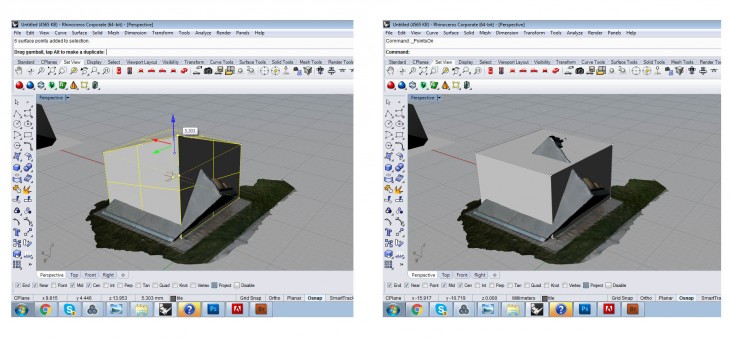
With the help of the _Surface, create surfaces to eventually make boxes. Surfaces have to be created as the object is inclined and not perpendicular to the axes. However, using the CPlane command, the axes of a surface can be changed and the boxes can be extruded, making it simpler.
To obtain the central glass, surfaces should be drawn on the mesh and extruded along the blue axis.
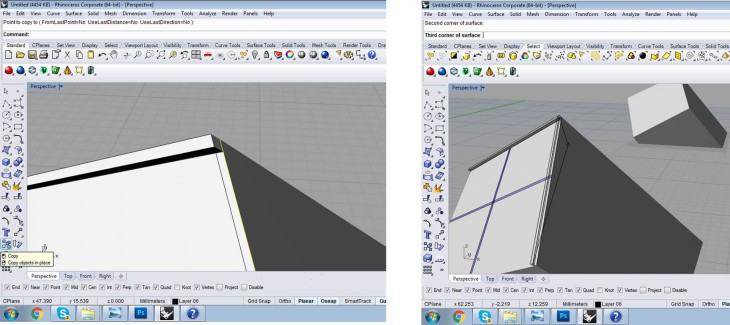
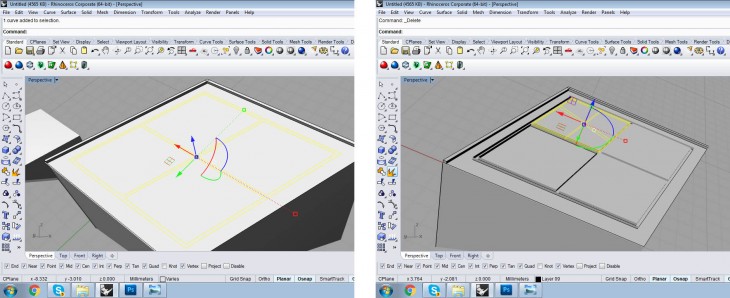
Sweep2 command to create a groove:
The Sweep2 command can be used to create a groove. Select two curves as the rails.
Select cross-section curves in the order in which the surface will pass through them.
Digitizing: Capturing the world is a project of IaaC, Institute for Advanced Architecture of Catalonia developed at Master in Advanced Architecture in 2015/2016 by:
Students: Varsha Subba Rao
Faculty: Luis E. Fraguada