Childs play :
The initial step was to find an urban object and to create a sequence of photographs to import into 123D Catch. From there we would replicate the 3D file in rhino.
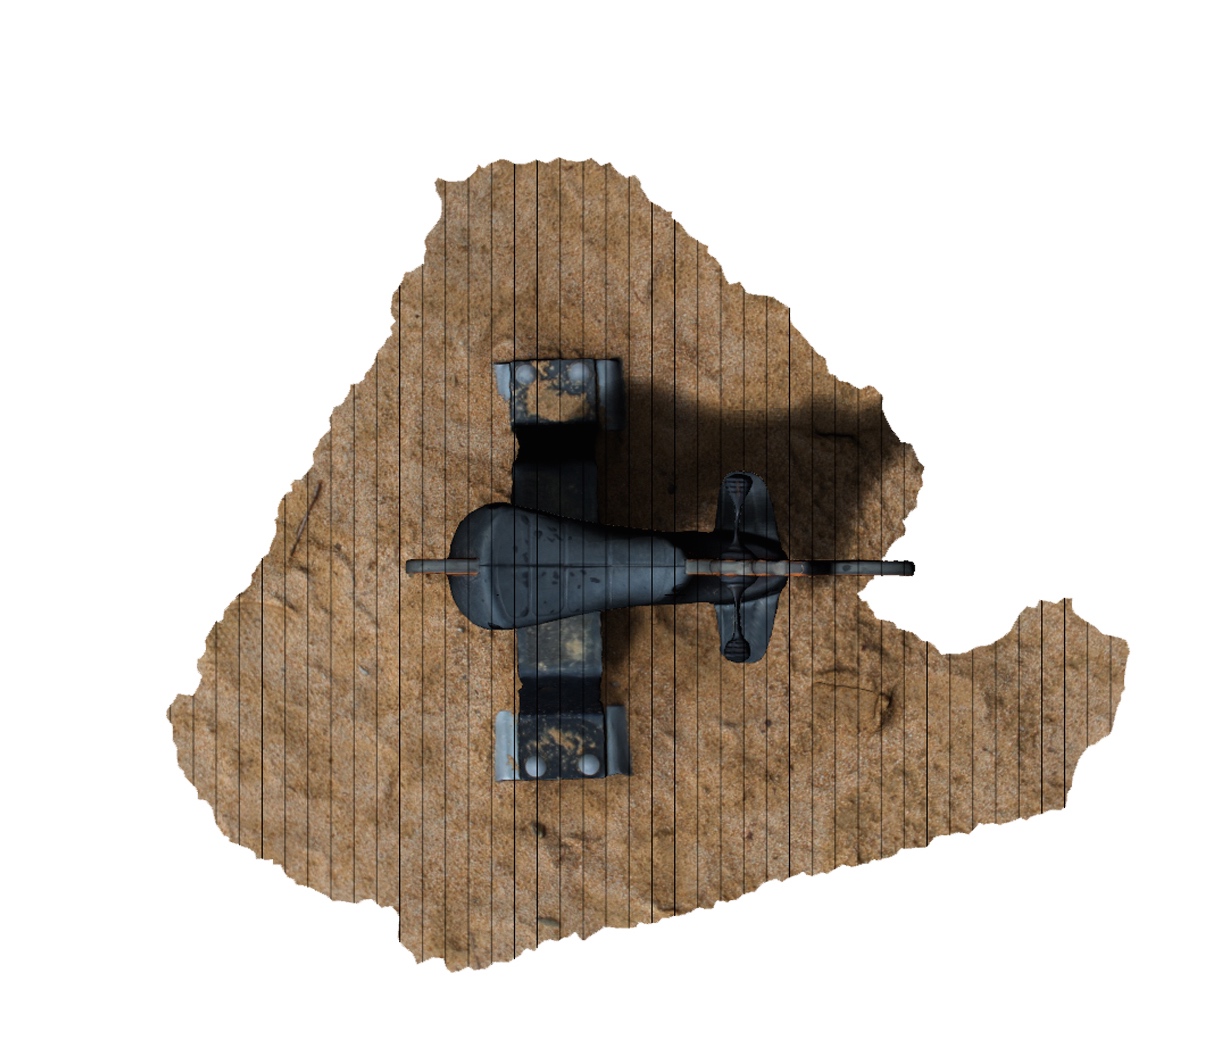
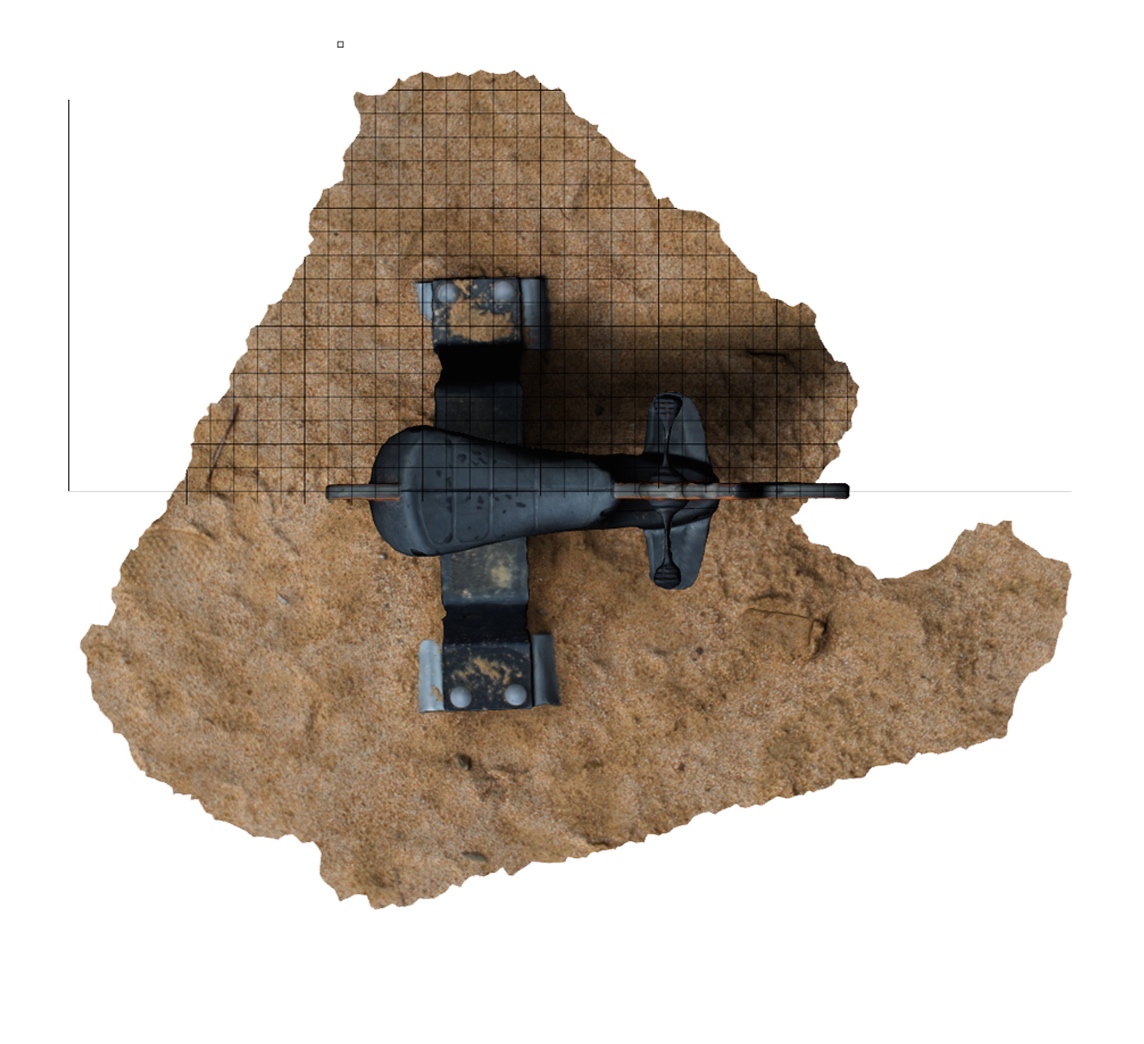
After several attempts of failing due to weather, obstructions in images and lighting we finally were able to achieve a successful 3D of an object in a childrens playground. We captured a total of 61 images with a high-quality camera.


The 3D was then exported out of 123D Catch as an object (obj) file so that it could be imported into Rhino.

Once the file had been successfully imported into Rhino, we exploded it and deleted the unnecessary surrounding elements that were captured. Thereafter we regrouped the object so it wouldn’t interfere with the modelling.
The fist step was to distinguish and separate the components that made up the object, dividing the complex forms from the simple shapes.


The simple shapes were created by the use of the curve tool, drawing around the outer edge of the original object and then extruding the surface (extrudecrv). The more complex shape(s) were tackle in a number of steps from creating contours to splitting, simplifying and finally lofting where some refining had to be done.

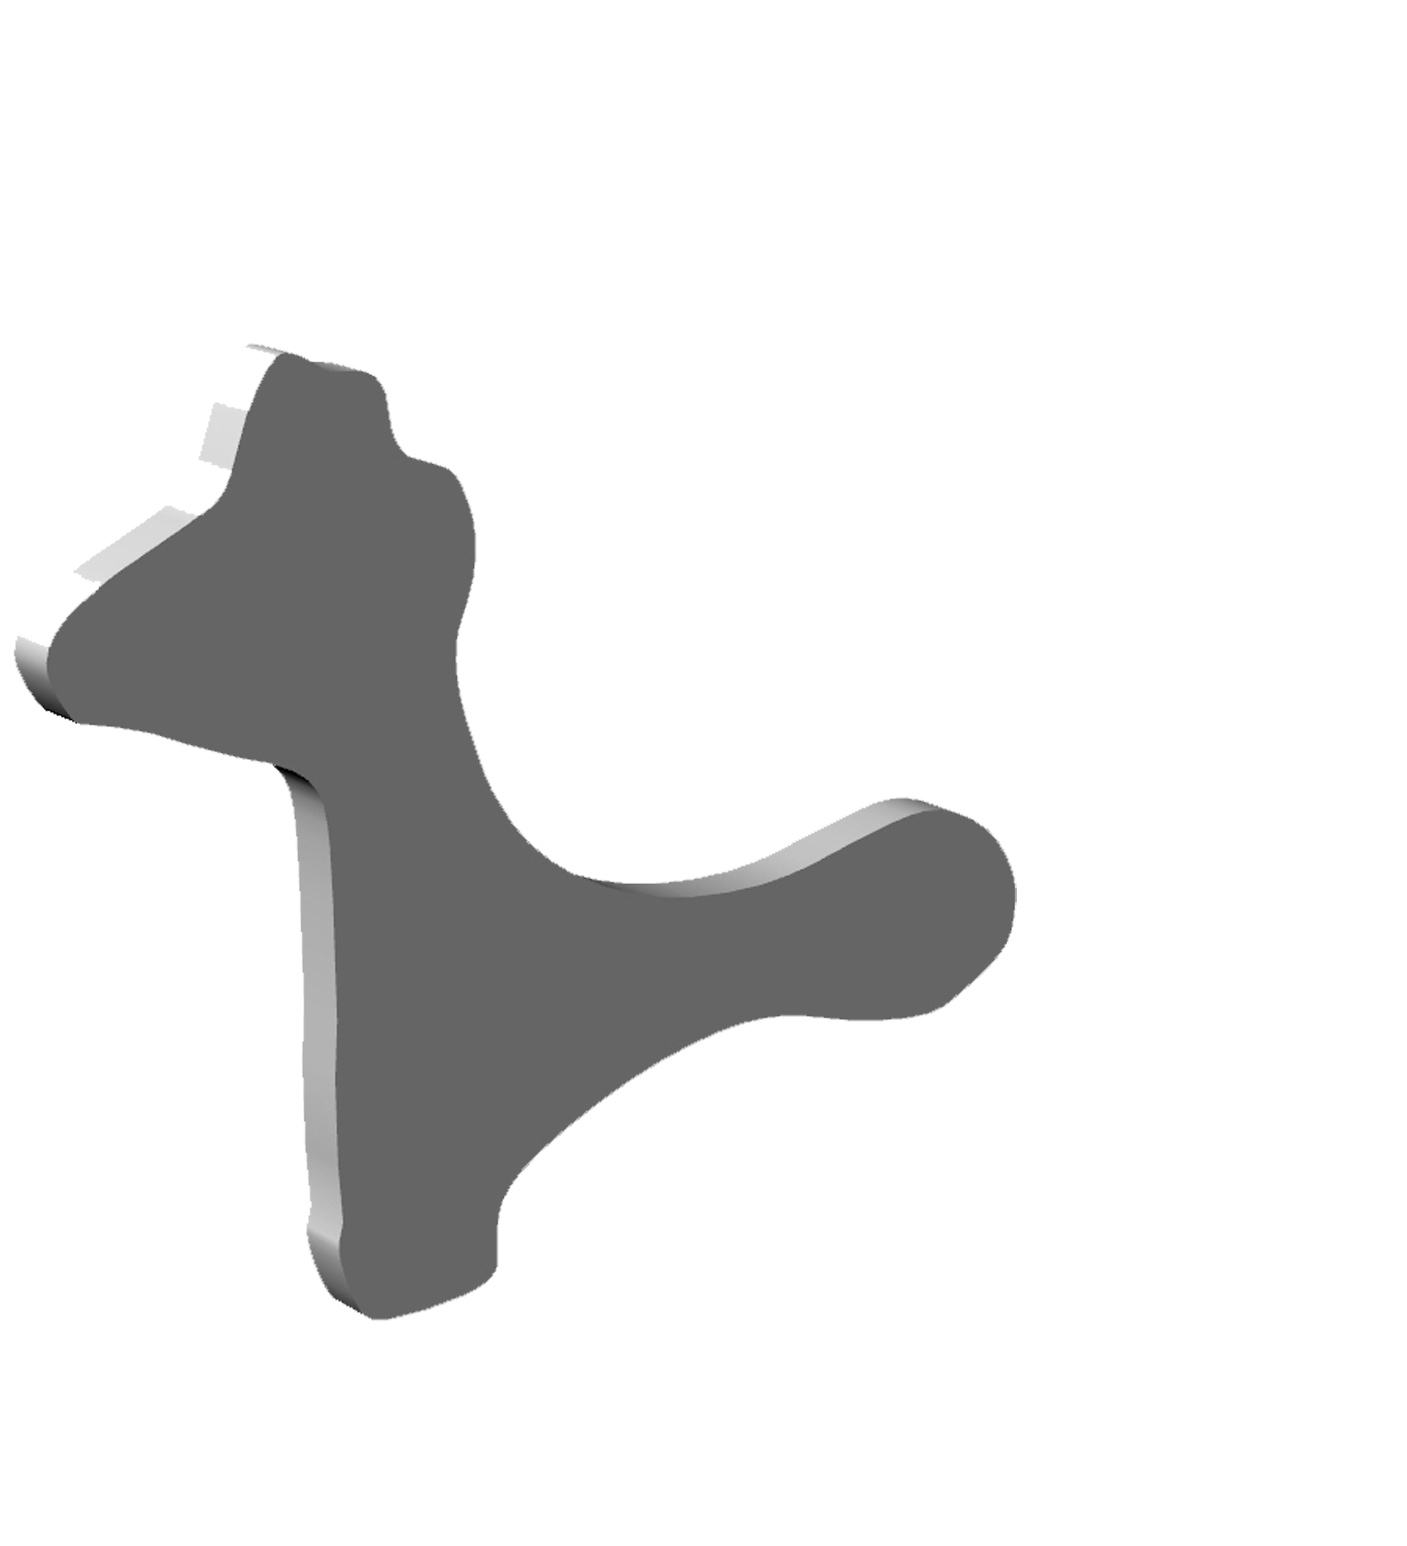
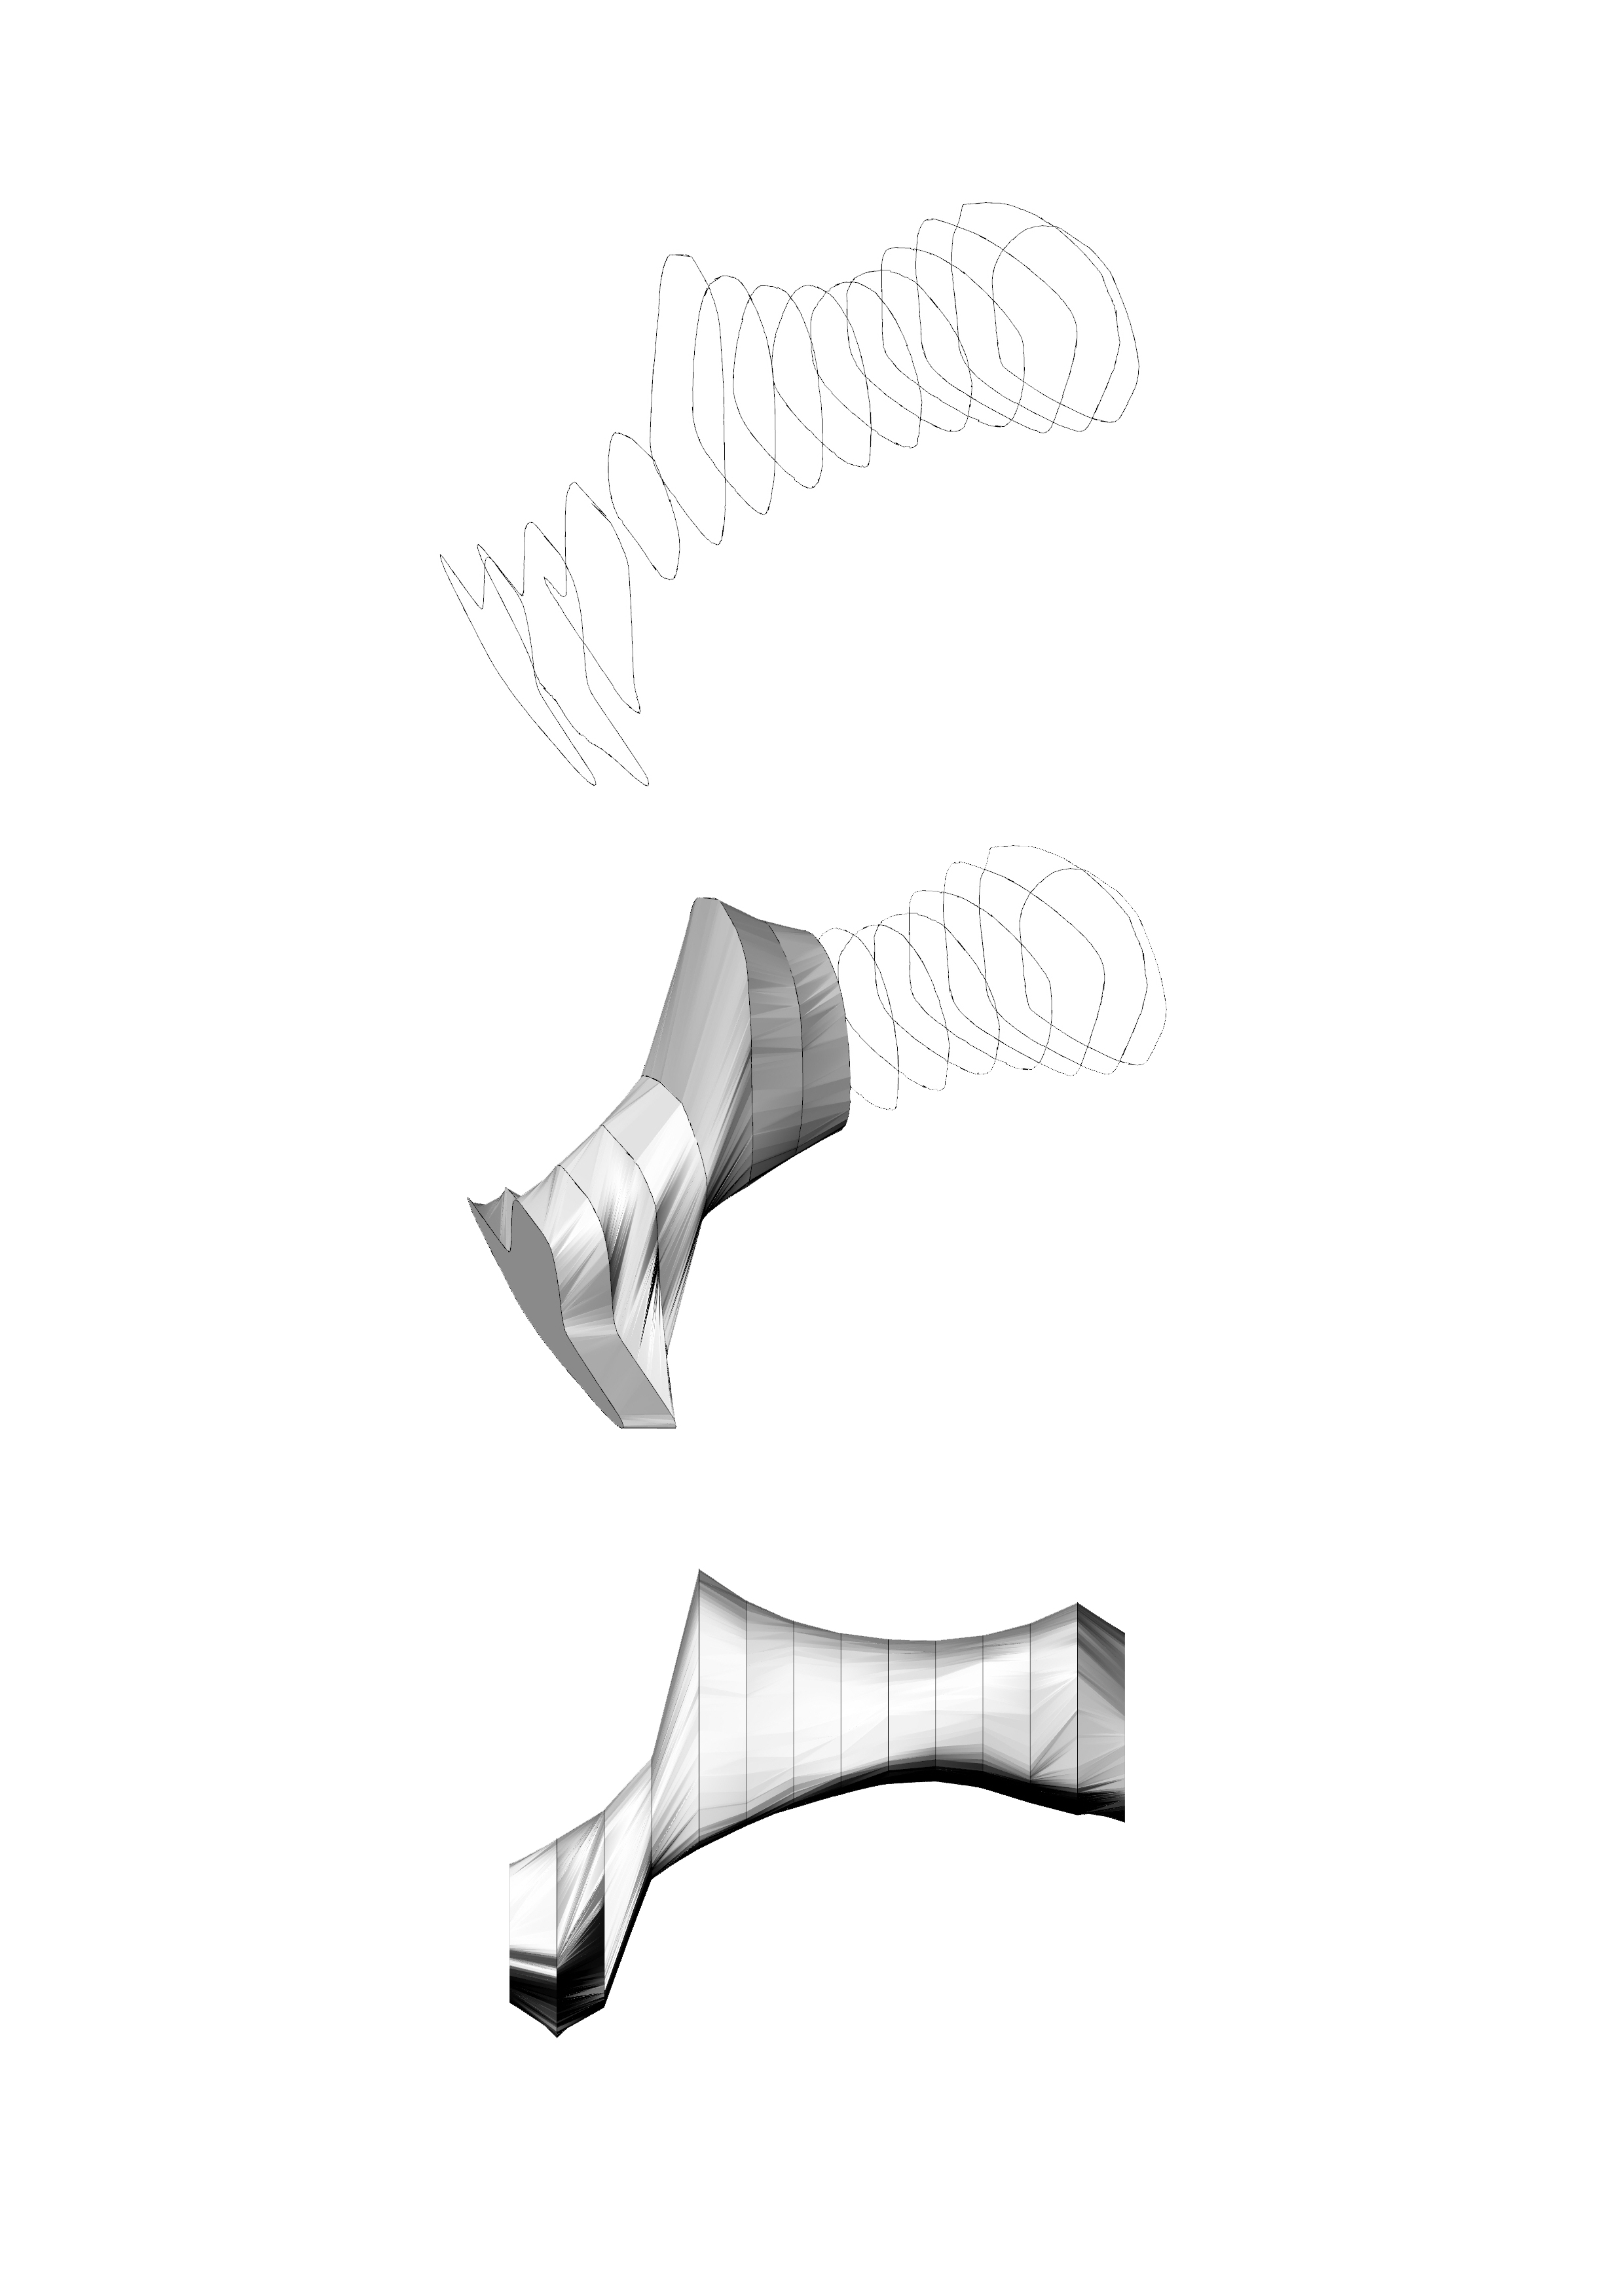
Process of contour layout (above) The object was defined by the contour lines and from this generated the form of the saddle. Using the loft command we formed the surface over the contours of the saddle.

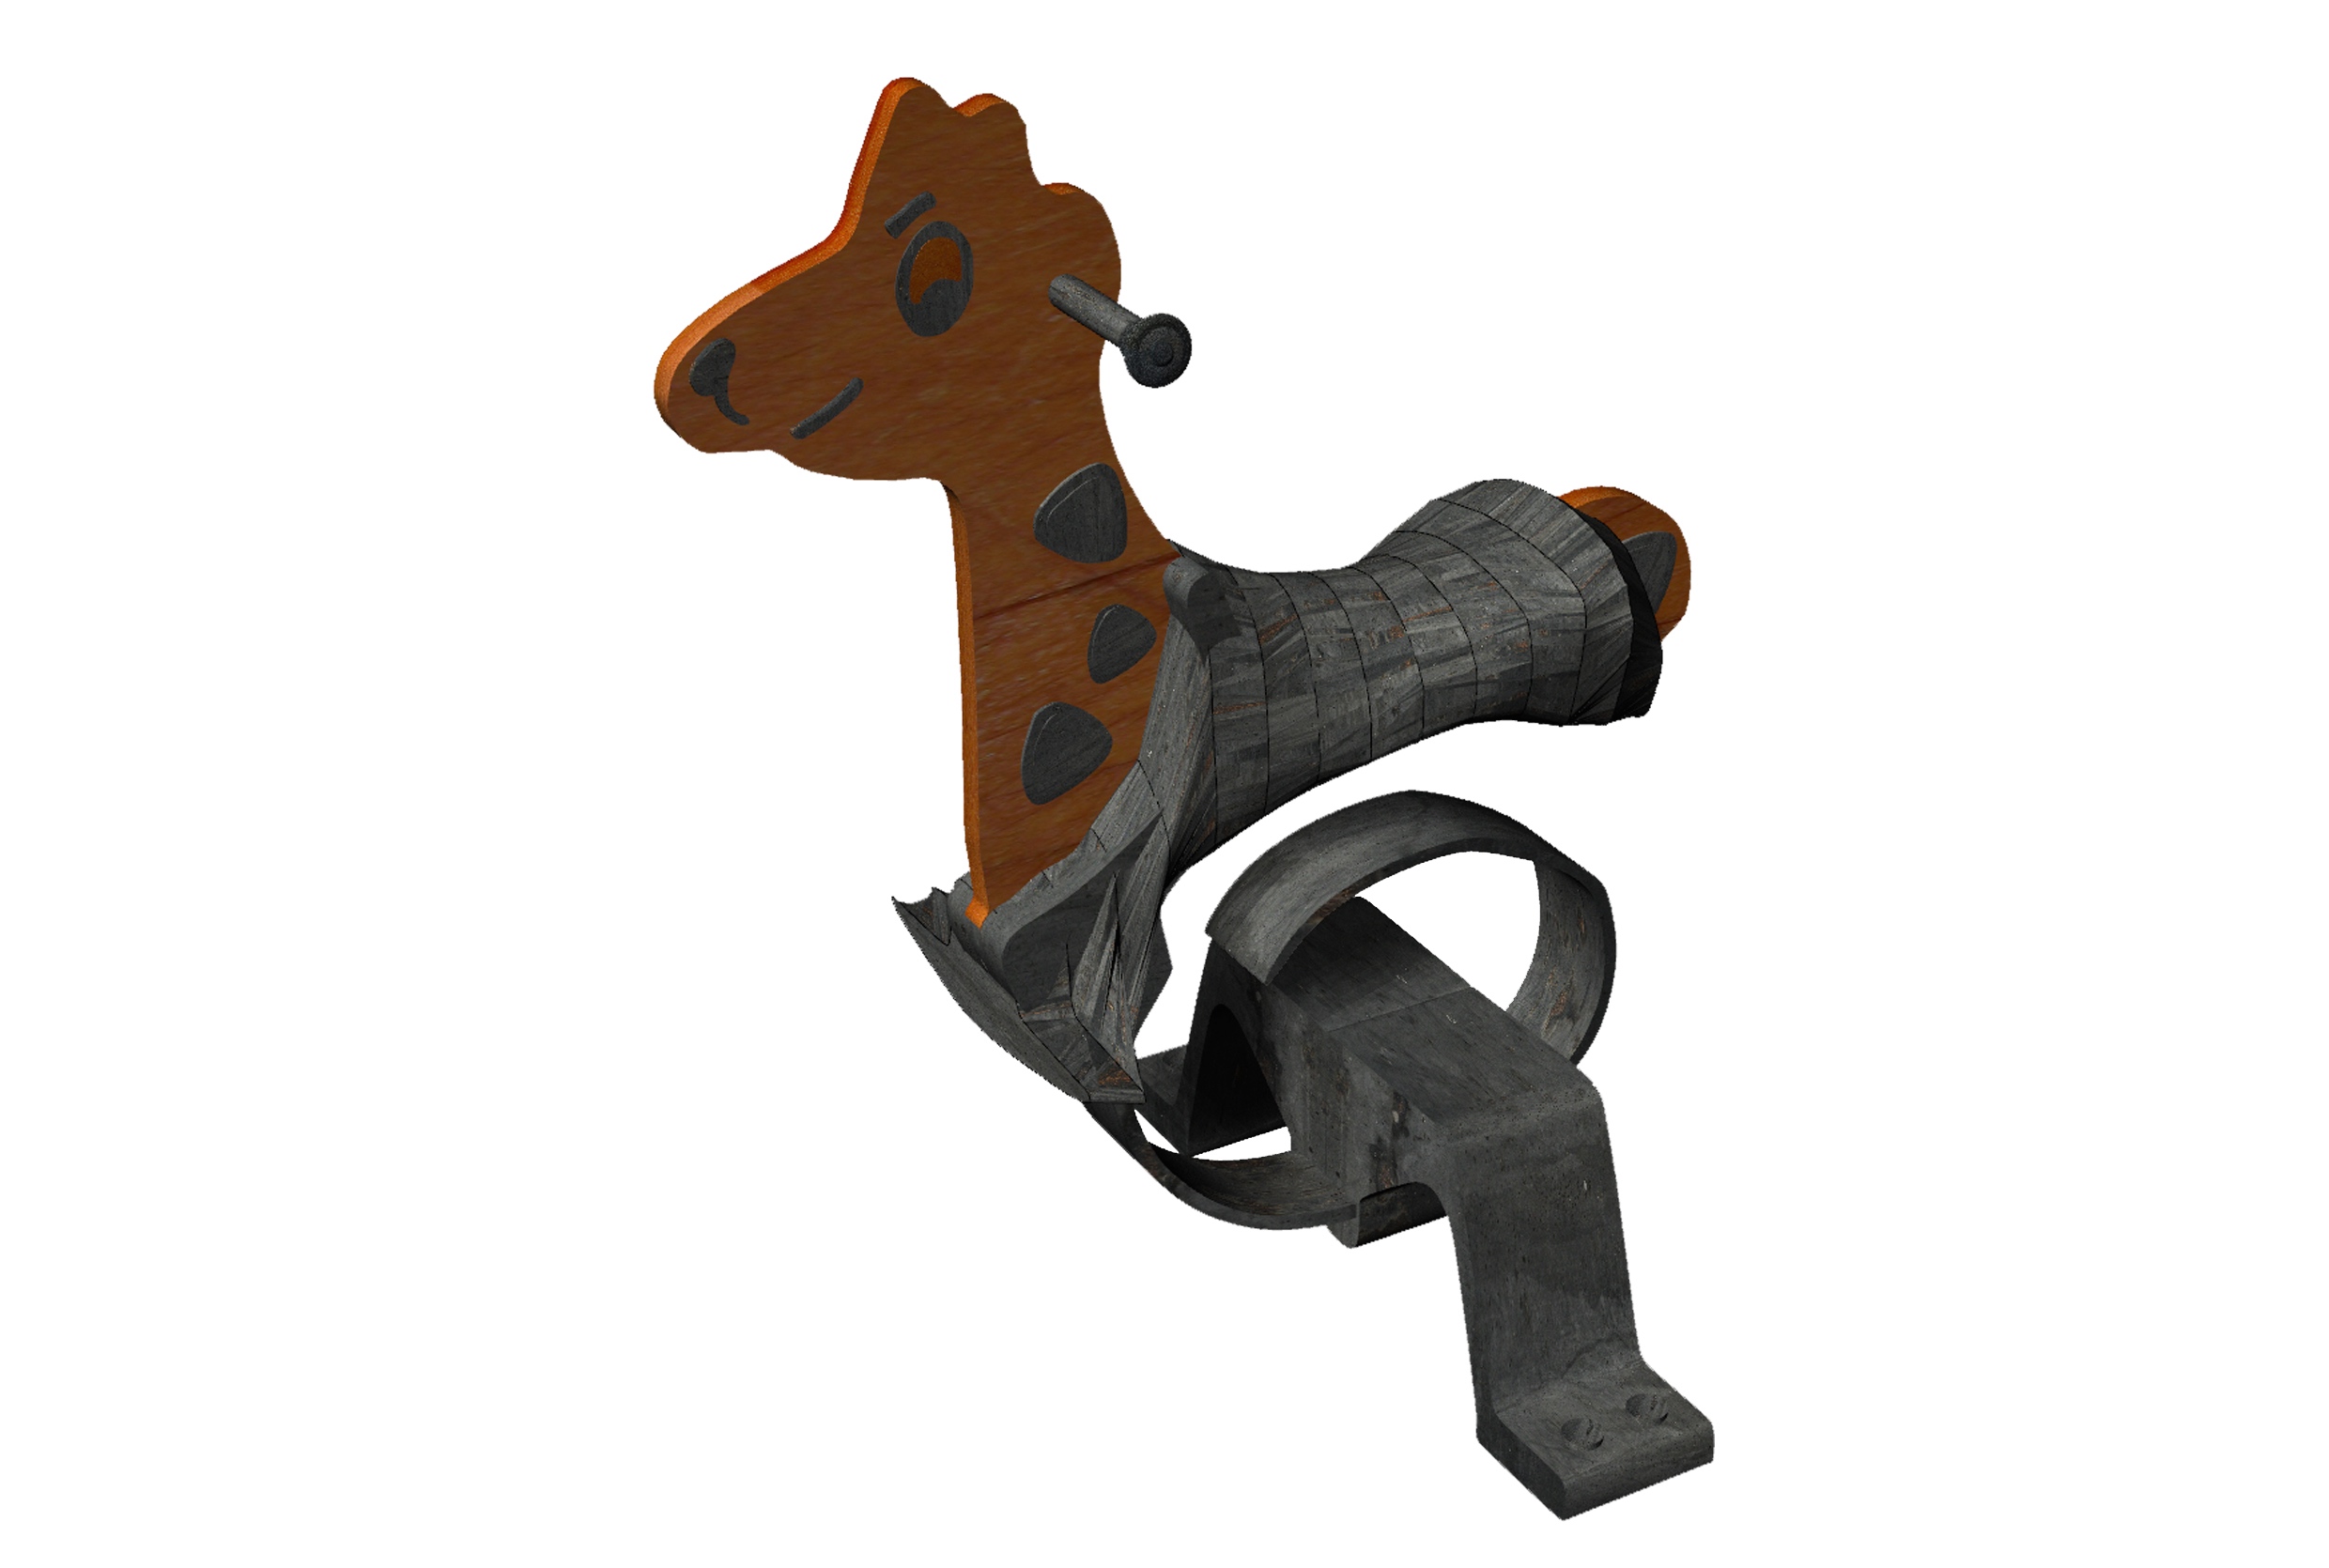
Process of saddle design Attachment of saddle Final rendering process involved adding textures to each part of the component that resembled the actual object as best as possible. We added the details, such as eyes, nose, mouth and spots using the curve tool and extruding these forms and mirroring.

Final representation