The CNC Milling Machine
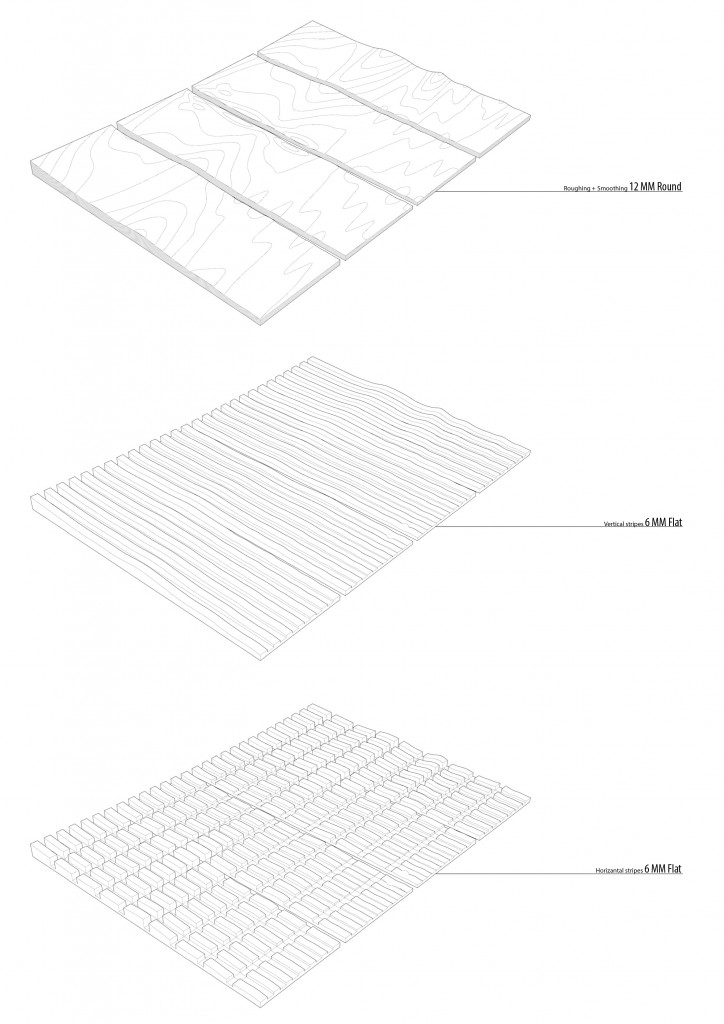
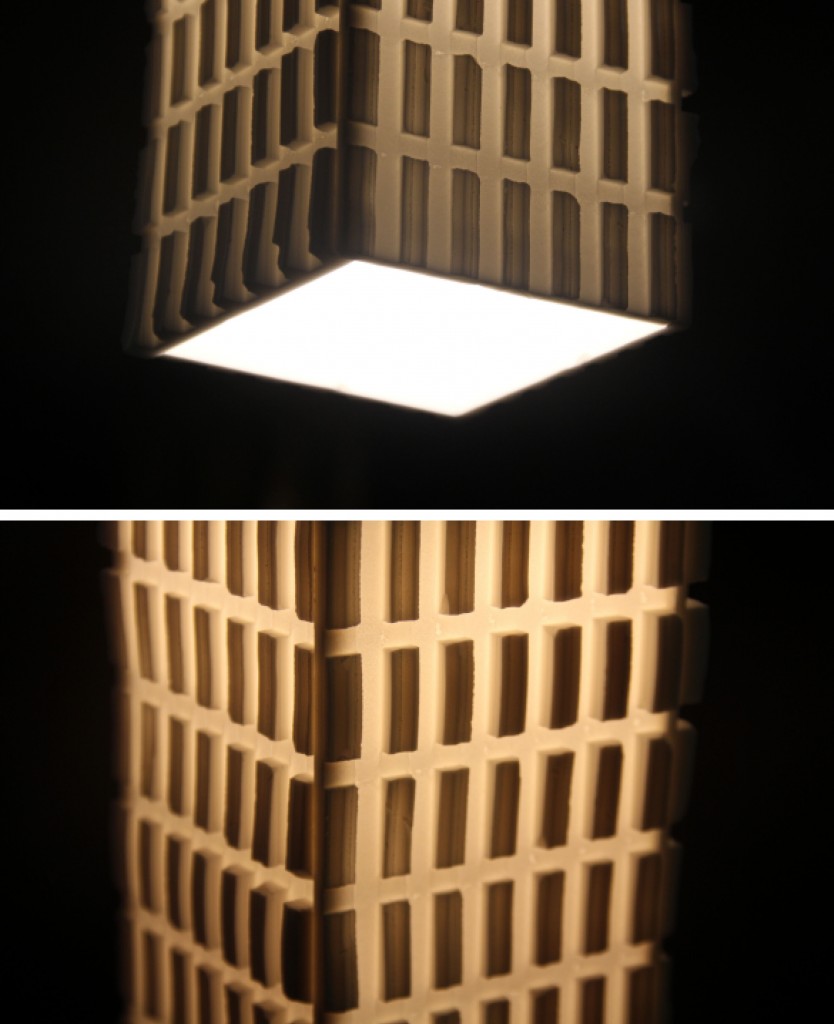
For the third and final exercise we designed a lamp with the Milling machine as a tool. Our focus was on the design of the four sides of the lamp. All four parts were designed slightly different from each other, but with the same principle in mind. The first layer was created through rough milling. With a 12 millimeter round ball milling bit. Then the second layer that was carved out of the solid material was done by a flat 6 millimeter milling bit. This bit milled horizontal and vertical lines in the material to establish a raster as a light pattern. The roughing was also performed to create more depth to the lighting pattern. For this exercise the most important part was to get the software files ready for the milling machine. Therefore, it was necessary to know the possibilities and the limitations of the milling machine. Aspects to think of were, among many others, milling paths, profiling, CAM parameters and certain axis. In the end, we learned that sharp edges are quite fragile, that we could even add more layers to the design and look for the limits of the material further. All in all, the digital fabrication module has taught us a lot about handling tools and to design with these tools in mind.