1. step: Choosing the template
Firstly, I started selecting Architectural Daylight 8 am template from the main page of cl3ver.

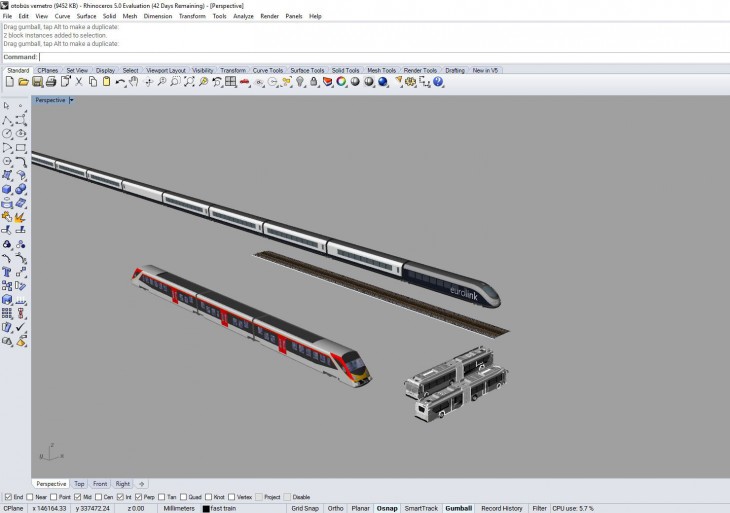
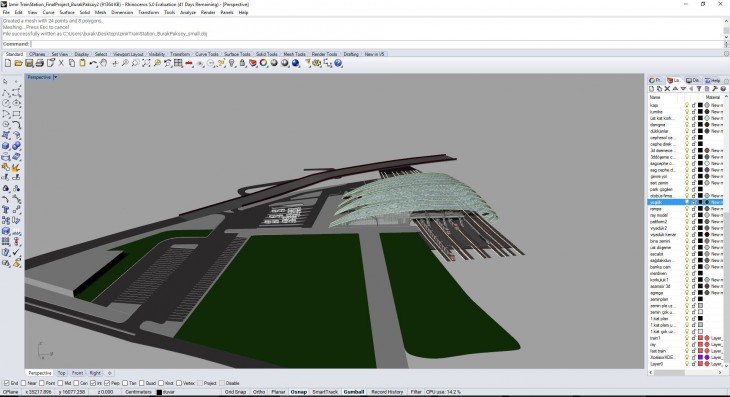 2 step: Transfering data from Rhino
Secondly, I chose one of my previous projects, named Izmir Halkap?nar Train Station. I added trains and buses to create more realistic 3d model for Cl3ver.
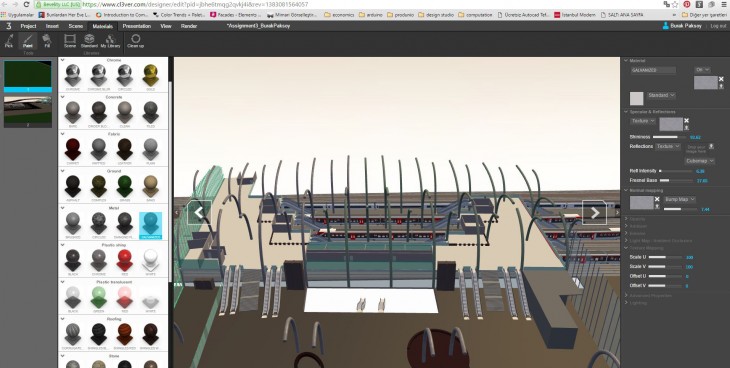
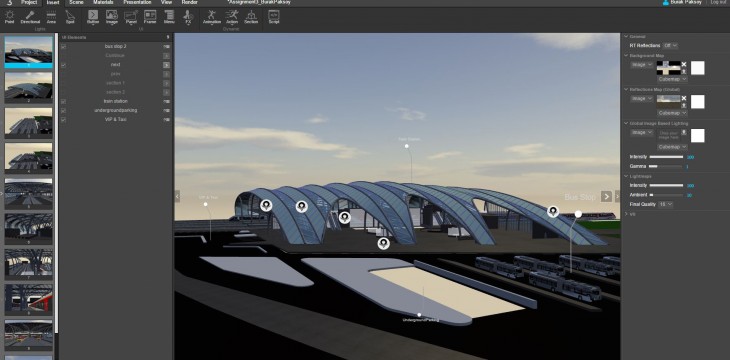
3. step: Adding new materials to 3d model in Cl3ver
Here I added new materials to each specific 3d objects such as floors, columns, glass, furniture etc.(by using Cl3ver’’s standard material library. )
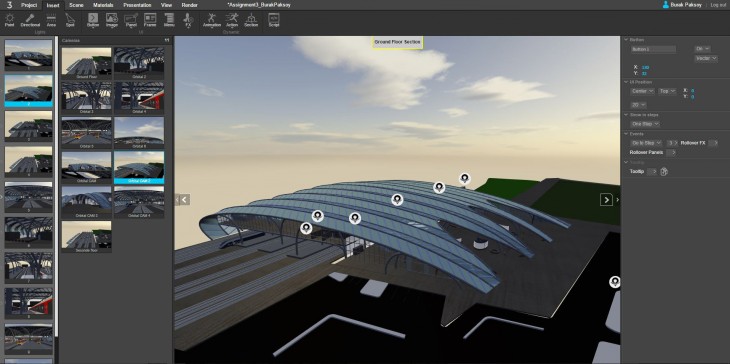
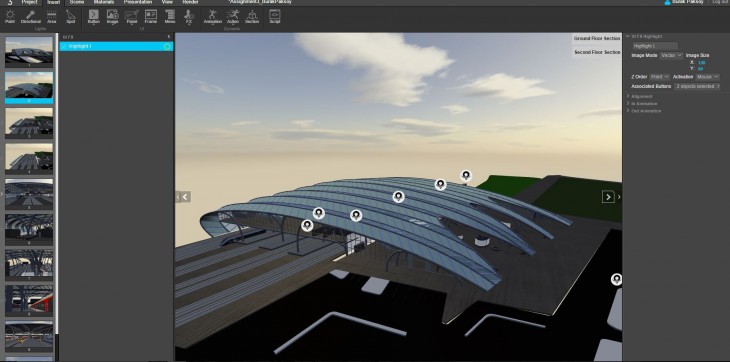
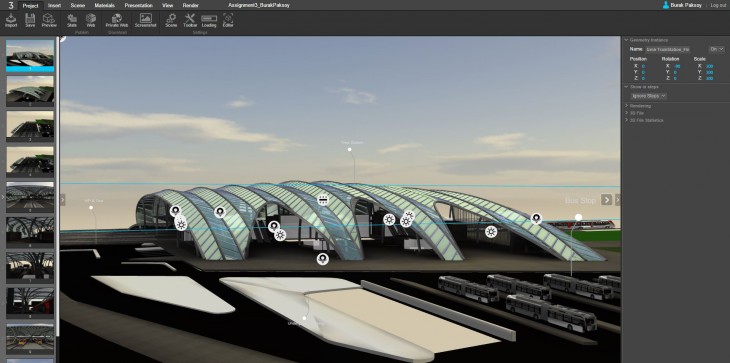
4. step: Creating sections in Cl3ver
In this step, Sections are being created to obtain ground floor and second floor views. Then next step is putting buttons to activate this views.
5. step: Adding Buttons
Then, “Ground floor” and “Second floor” buttons added to related pages to activate this views.
 6. step: Adding Buttons | Arranging page transitions
Page transitions are arranged in this step. So according to final situation there wil be Ground floor, Second floor and Continue buttons. Continue button goes on the presentation.
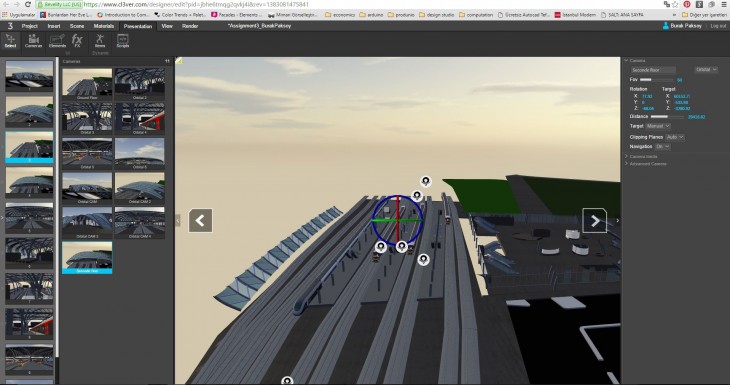
 7. step: Adding panels | points and lines
Next, adding information in the presentation by using lines and points. Area names are placed in the presentation.
 8. step: Light options
Checking the lights indoor area. Looks dark in the scene. Requires lights inside of the building.
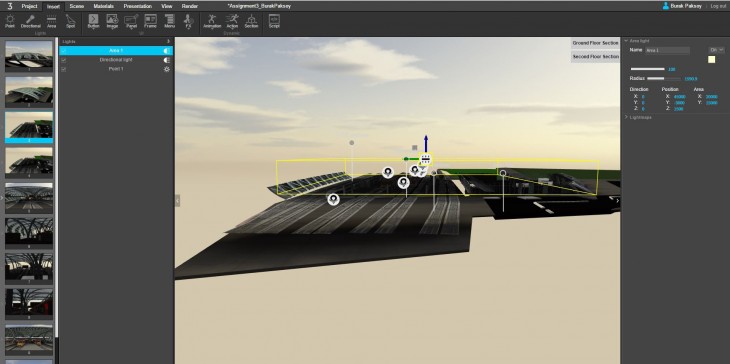
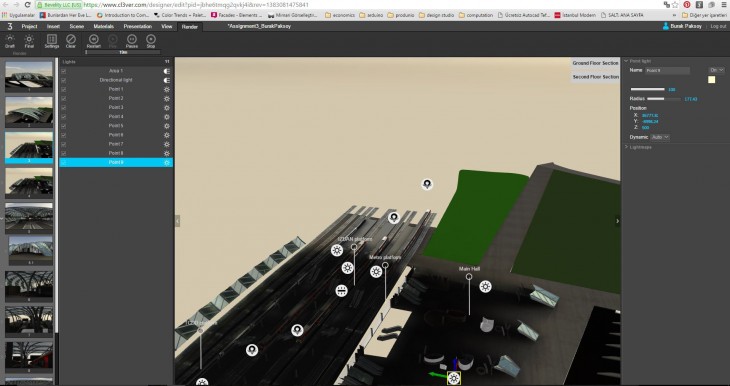 9. step: Area lights and points lights
To not to get very low light ambiances indoor, area lights and point lights are added to 3d model.
10. step: Rendering after putting lights on
As last step, I rendered the whole model after trying a few times in draft mode. 3D presentation reached its latest view after the final render phase.
 11. step: Final
Lastly, publishing the presentation including 11 different slides.