STEP 1: Rhino Model
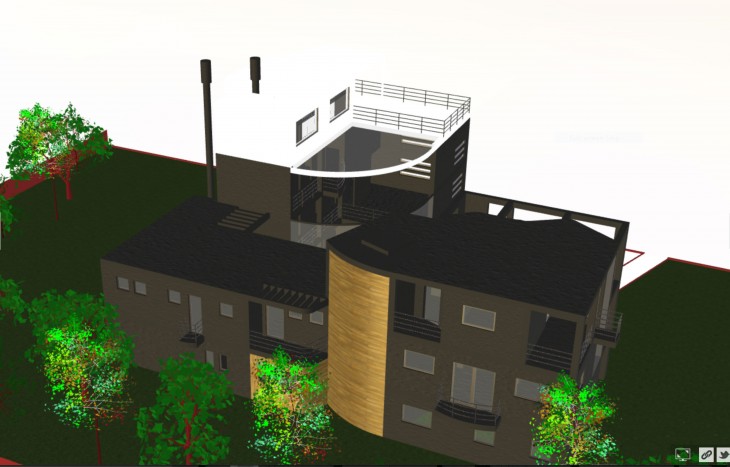
To start with, I opened a .3dm file for an existing project.
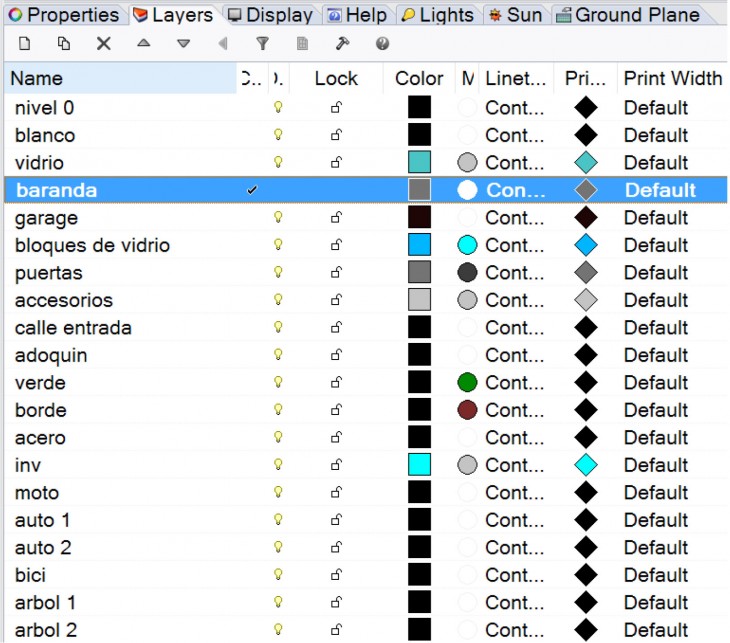
I modified the file, drawing new elements and deleting existing elements that were not needed to be able to import the file on Clever Platform. Another important thing to do, was to create and organize the layers for each element in the model. Once finished these steps, I exported my drawing to .obj.
STEP 2: Import to Cl3ver
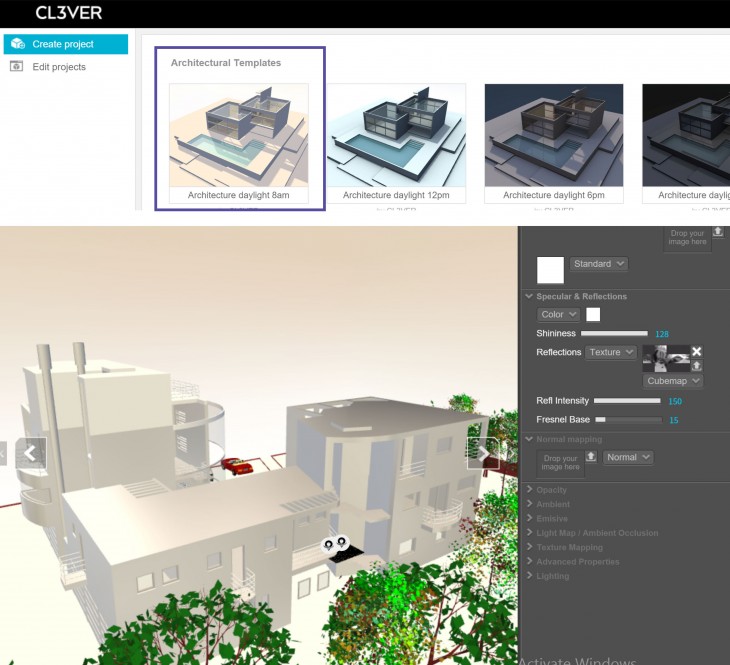
Once I had the modified .3dm model, with one layer per object, I imported it onto Cl3ver two files: the .obj file as well as the .mtl file. When I opened Cl3ver, I selected “new project” and then the first option, for 8am daylight. After loading it, I corrected its position and rotated it.
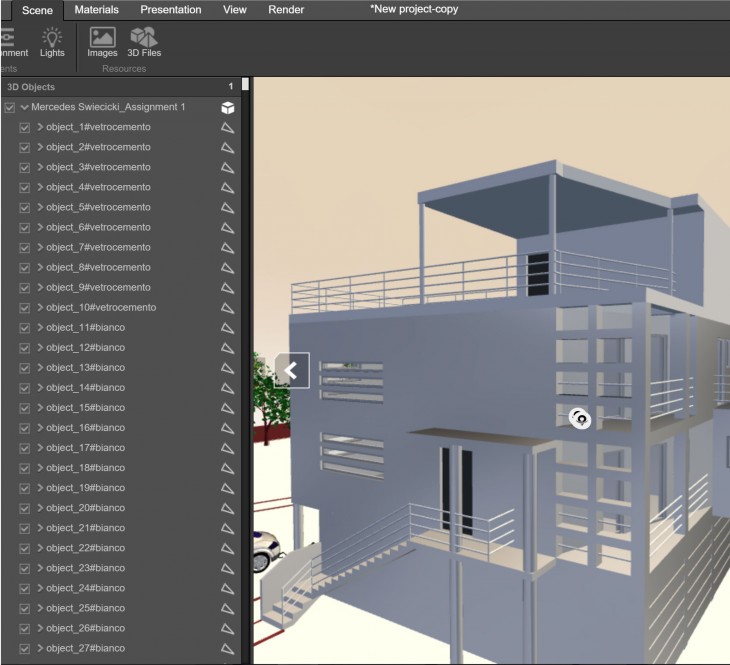
 STEP 3: Manage 3D Objects
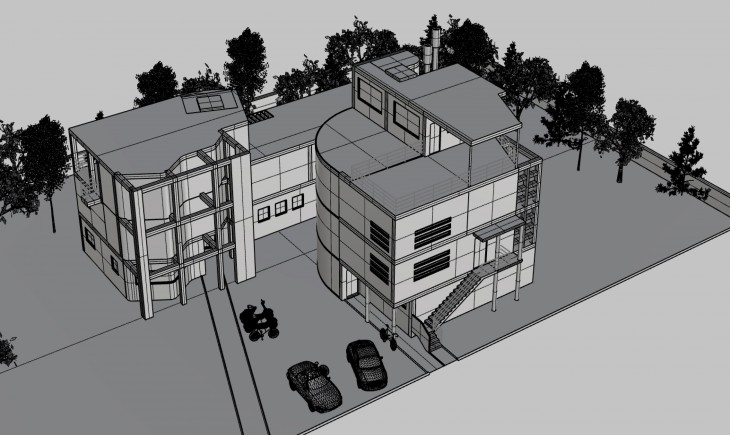
With the .3dm file imported, the next step consisted in managing the 3d objects in the model. In this case, I hided the ones I did not want to appear.
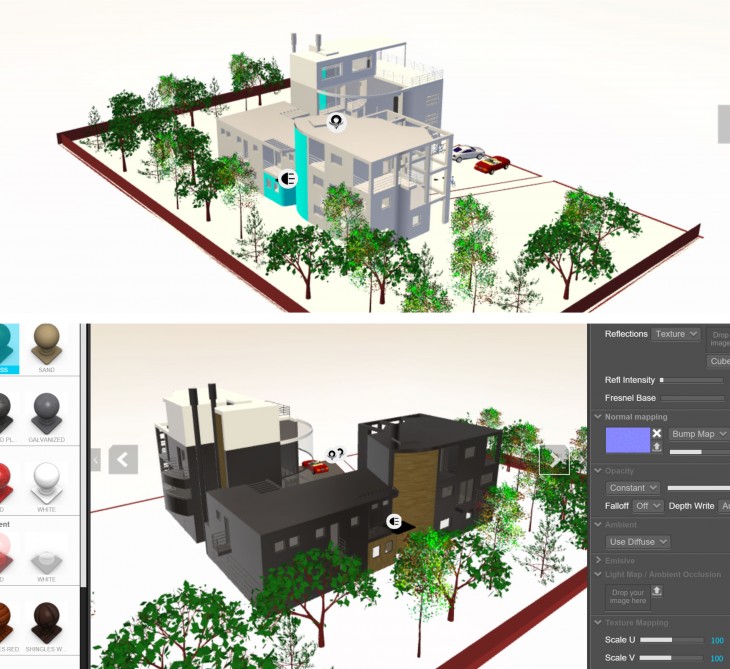
 STEP 4: Materiality and Background
Once I had managed the 3d objects, I started playing with different materialities, testing different colours, textures, etc.
Also, I tried different backgrounds, importing pictures and trying the default ones. Still, I decided to go for a light colour.
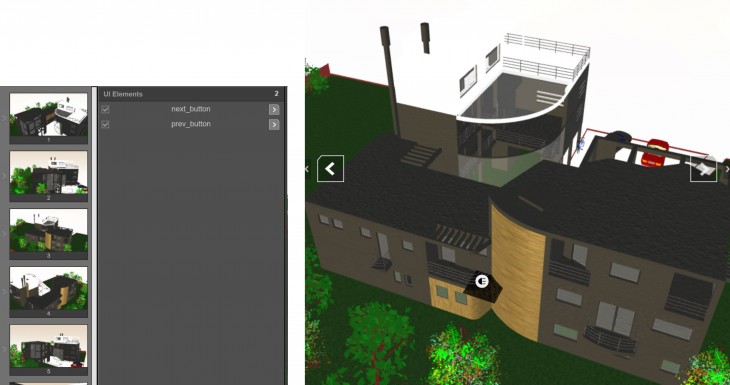
 STEP 5: Slides and Effects
The next step consisted in creating the slides that will then form the presentation. Each slide has one different point of view, some of them are aerial and others from a pedestrian point of view. In this process I also managed the effects for each slide.
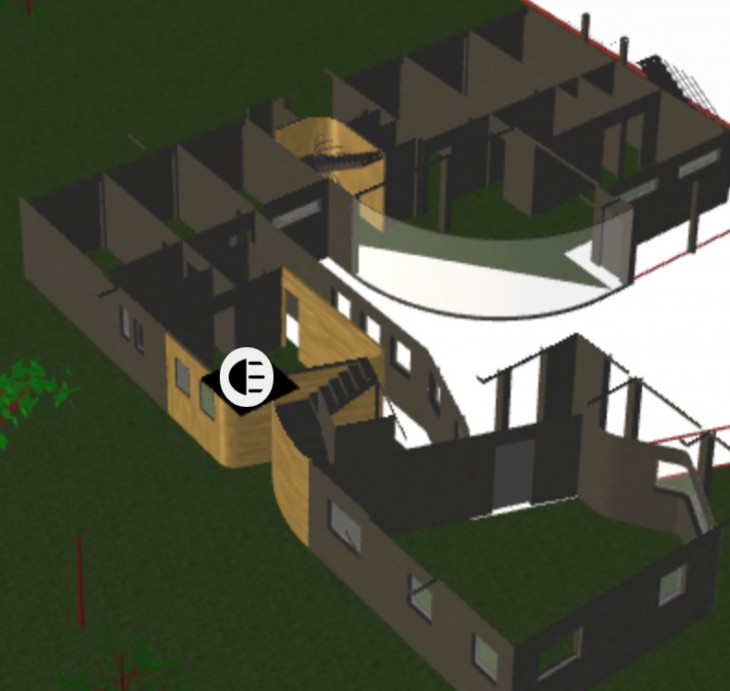
 STEP 6: Floor Section
As Cl3ver platform gives you the possibility to easily create sections to our 3d models, I added a floor section to my presentation.
STEP 7: Publish my Presentation
http://3d.cl3ver.com/Ns2EX