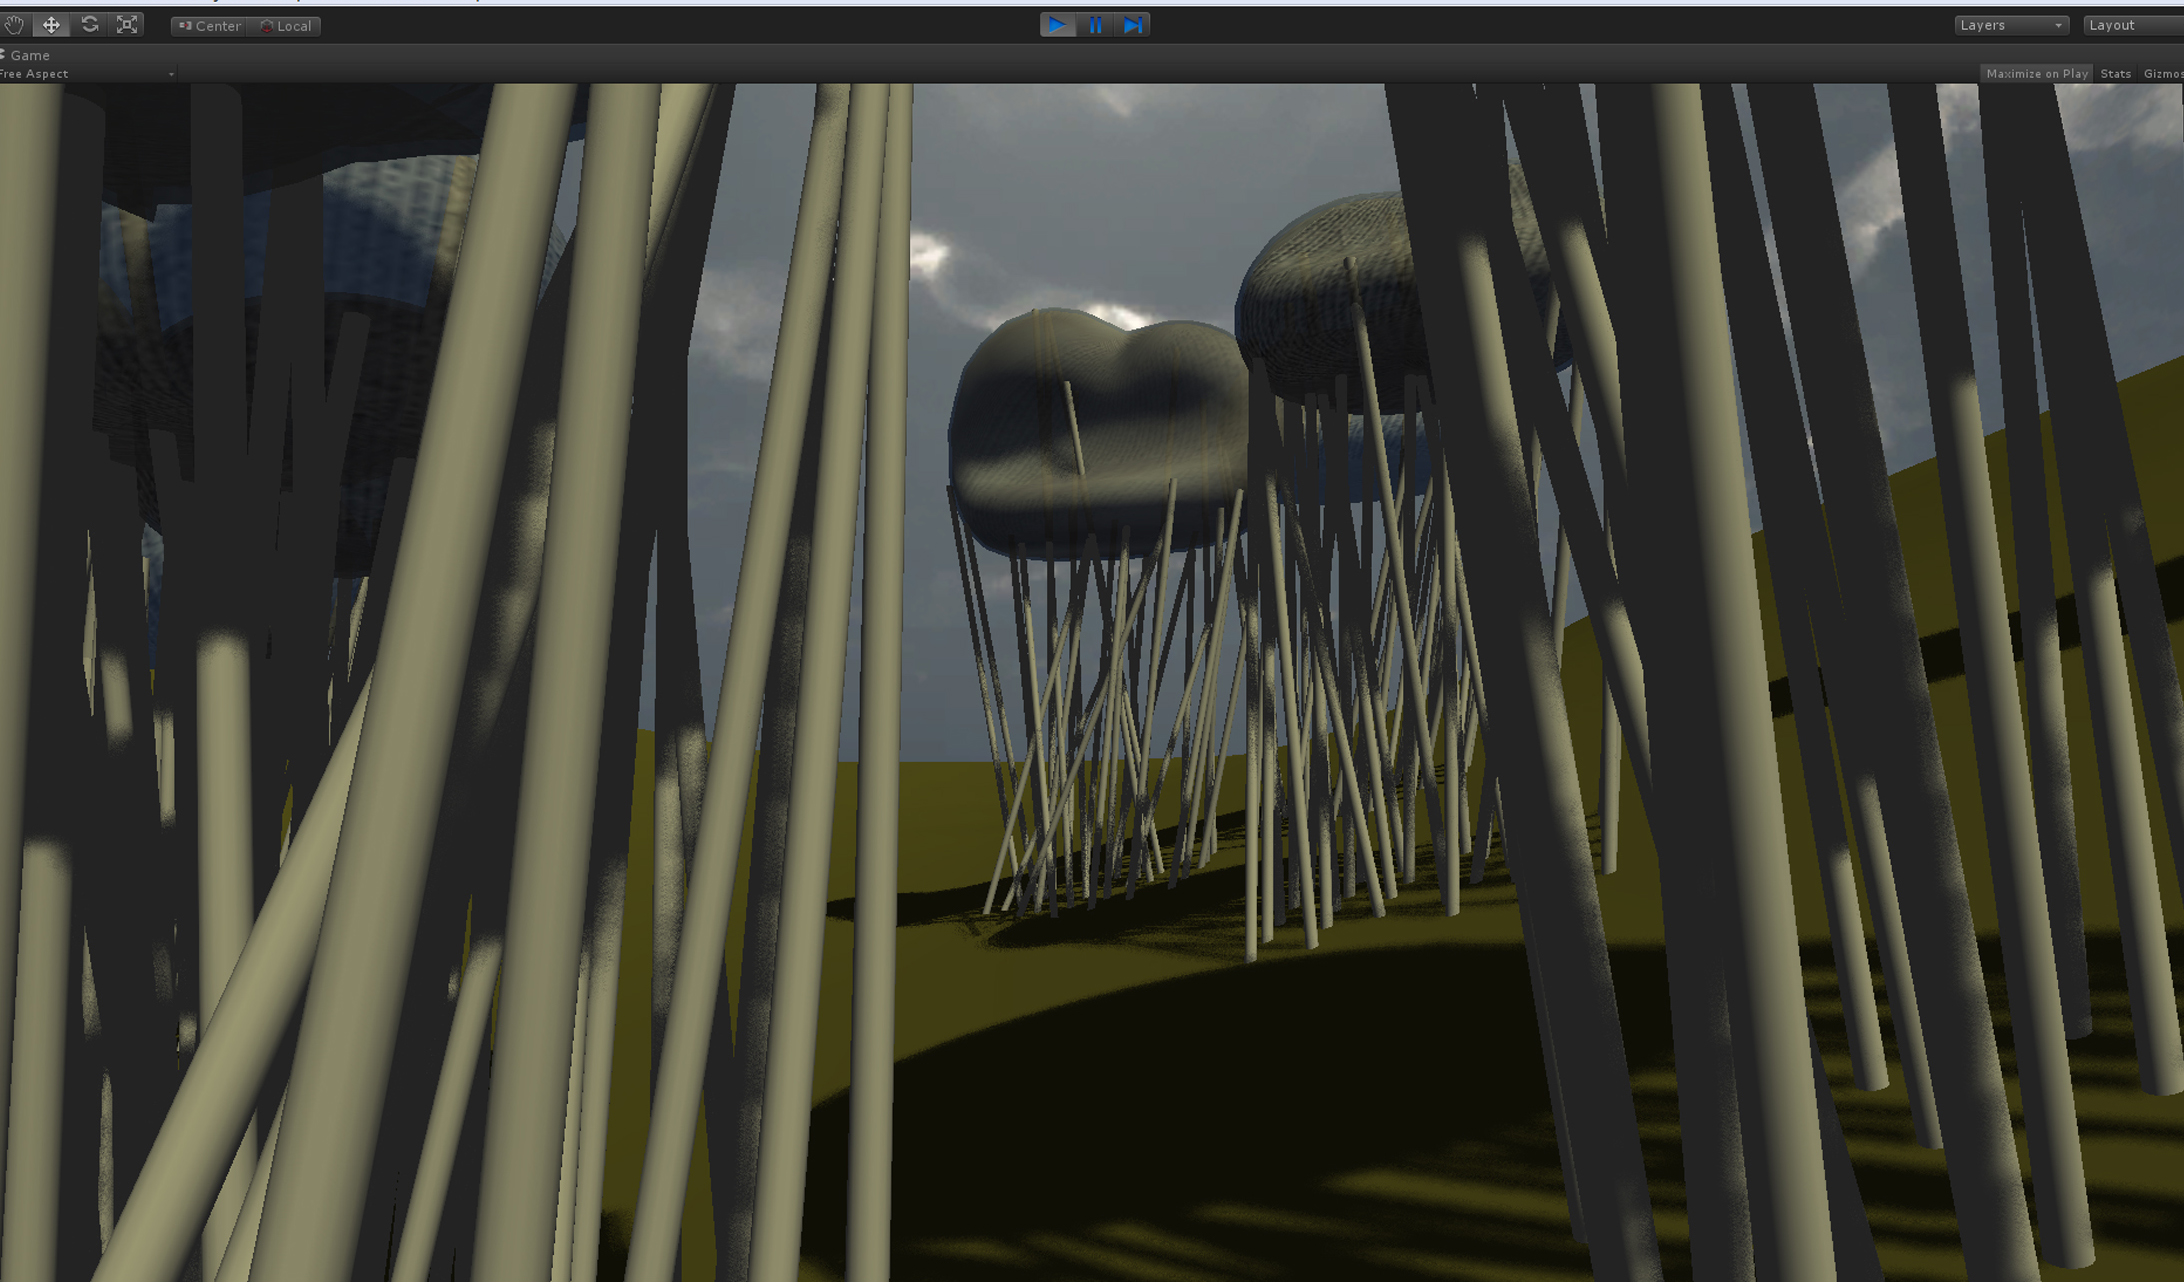
 Step 1 – Exporting Project from Rhino In order to import modeled geometry in Unity 3D, it must be exported as .obj file. In OBJ export window, there are certain options that must be checked. Two most important options are selection of exporting objects as meshes and mapping Rhino Z to OBJ Y. In this process I exported terrain and object as two separate files, so I could manipulate changes in Unity easily. Step 2 – Importing Project to Unity 3D After creating New Project with Character Controller in Unity, OBJ geometry from Rhino can be imported as New Asset. While still in Asset Folder, Generate Colliders should be assigned to terrain and any other geometry that should not allow user to go through. After this geometry can be dragged in Hierarchy along with First Person Controller, that must be positioned above the terrain. Step 3 – Adding Materials, Light and Background New Material can be created in Unity with use of adequate shaders and bitmaps. In Inspector windows settings for materials are available, and new images for bitmaps can be loaded if previously added as a New Asset. Light component can be added to the scene as Game Object. Settings for Light that are in Inspector consider also Shadow Type.Background can be edited in Edit – Render Settings – SkyBox. As for everything else first Skybox needs to be added in Assets with Import Package. Step 4 – Saving the Game After saving the current scene, game can be saved in File – Build and Run. There is option for saving game for Web Player, so users from any platform can play the game.